

Use the Customer Group Slot in Makeswift
The Customer Group Slot is a Makeswift component in Catalyst that renders different content depending on the shopper’s customer group, such as a members-only product or a discount for friends and family. This tutorial uses it to show a different coupon message to each customer group.
Prerequisites
-
A Makeswift-connected Catalyst project running locally. The component is part of the Makeswift integration; see Makeswift for which setup paths include it. To run a One-Click Catalyst project on your machine, see Run locally.
-
An access token that can read customers. One-Click Catalyst doesn’t provide a token that can query customer and customer group data. Create a store-level API account with a read-only scope for customers, then add its access token to the
.env.localfile in the root of your project:
Set up customer groups
-
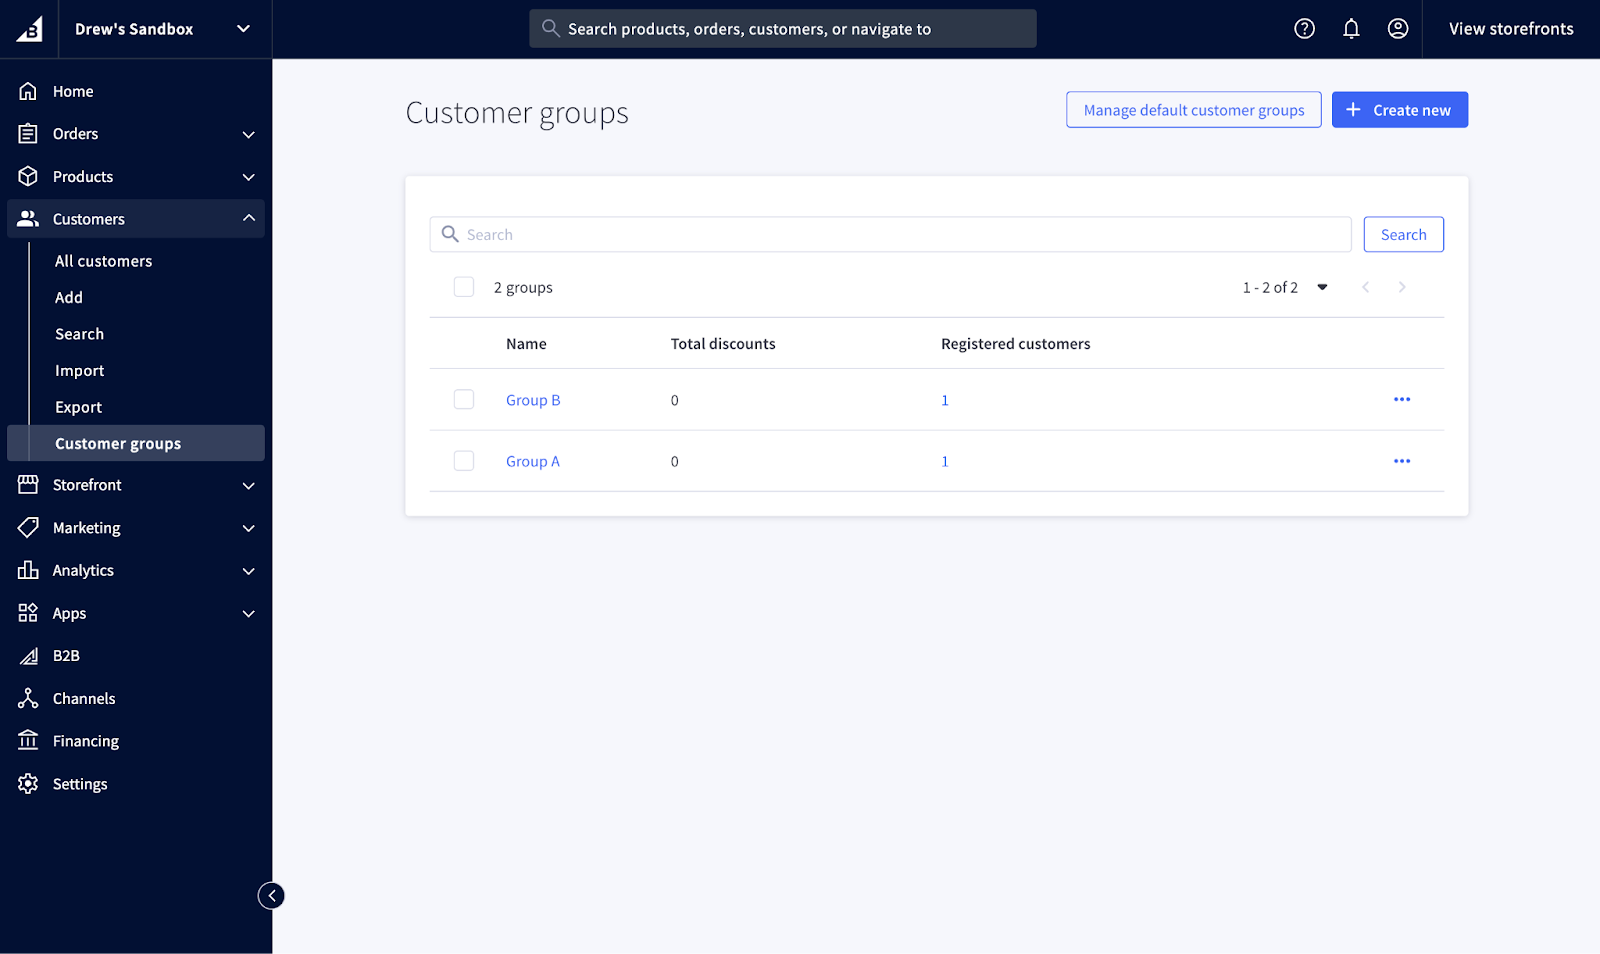
In the BigCommerce control panel, go to Customers > Customer Groups and make sure you have groups to work with. For details, see the Customer Groups support article. This tutorial uses two groups, Group A and Group B.
-
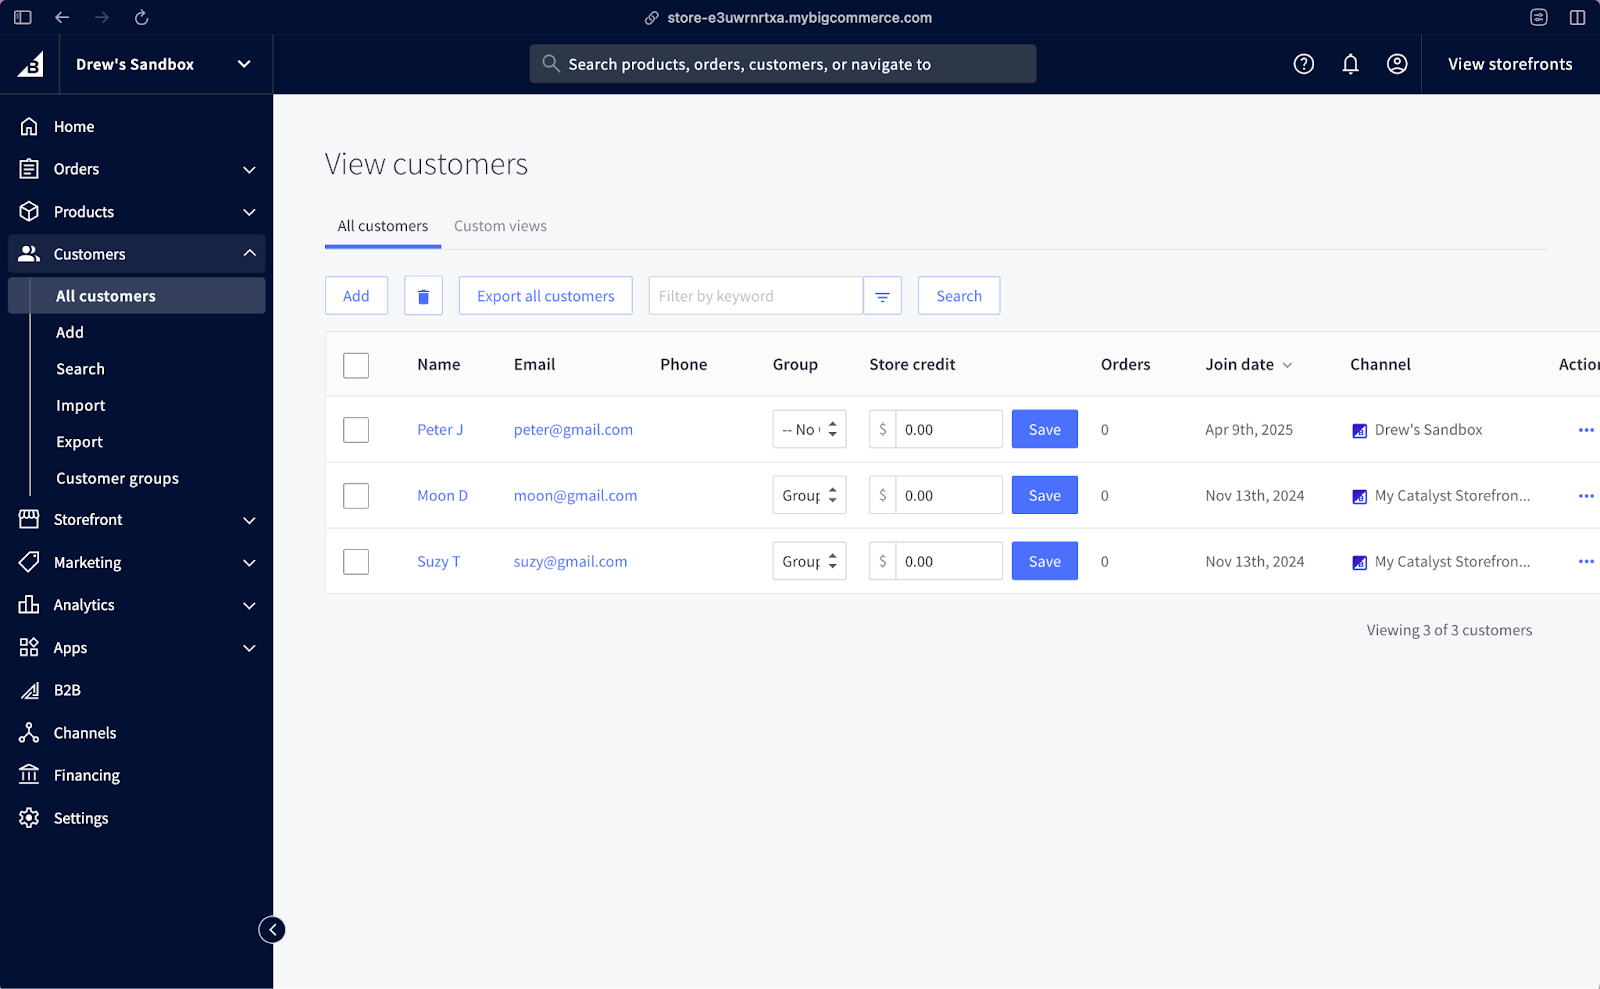
Assign customers to your groups so you can check what each one sees. If you don’t have customers to work with, see the Customer Storefront Accounts support article. This tutorial uses three customers: Suzy T in Group B, Moon D in Group A, and Peter J in No Group. Click Save in each row after you change it.
Add the Customer Group Slot in Makeswift
-
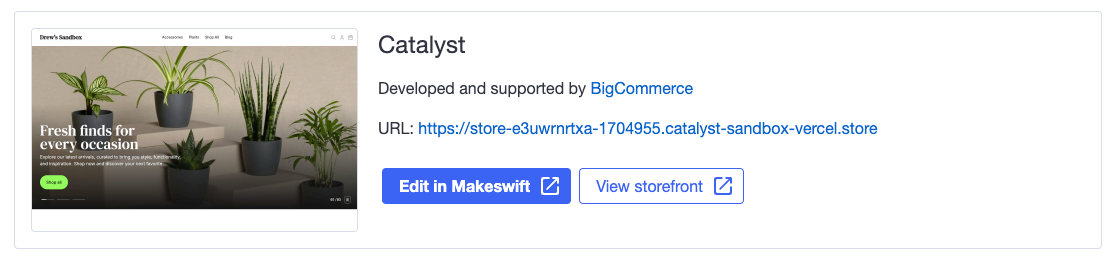
Go back to your channel page in the control panel and click Edit in Makeswift.
-
Switch to your development environment. On the Home page, open the component drawer and drag a Section component onto the page.
-
Drag a Customer Group Slot component into the section. Each piece of group-specific content it holds is a group slot.
The component has two controls:
- Targeted customer groups: add an entry for each customer group you want to create content for, and pick the group from the Name list. The list stays empty until you start typing to search for groups.
- Simulated group: the group to preview in the editor. You must select a simulated group to create content for that group. The No group option is included by default, and targets shoppers who aren’t signed in or whose BigCommerce group is “No group”.
-
Add Group A under Targeted customer groups, select it as the Simulated group, and add the text “A big discount for group A”. Only Group A customers see this content.
-
Repeat the previous step for Group B.
-
Select No group as the Simulated group and add the content for shoppers who don’t belong to a group.
Test your changes
-
Click Publish in the top right, and make sure you select the page you changed.
-
Click the button next to the URL to open the page on your storefront.

-
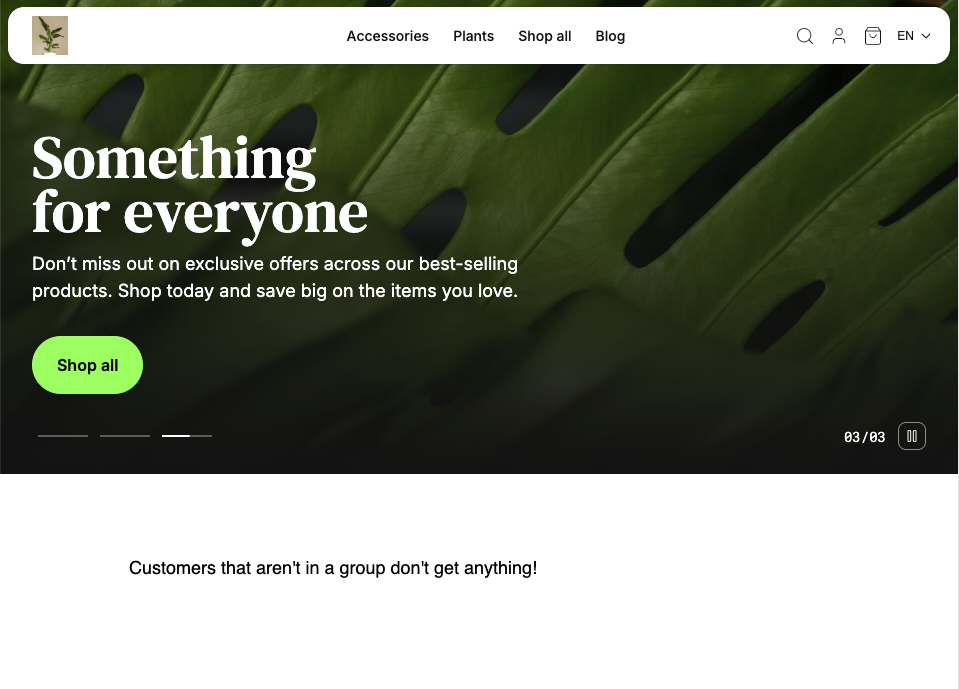
Before you sign in, the page shows the content for shoppers with no group.
-
Sign in as each customer to check that they see their group’s content. Suzy (Group B):
Moon (Group A):
Peter (no group):
Next steps
- Create your own custom components for content authors to edit in Makeswift.
- Deploy your storefront to make your published changes live in production.