

Deploy to Vercel
This guide shows how to deploy a Catalyst storefront to Vercel with the Vercel dashboard or the Vercel CLI.
Native Hosting is the recommended way to host Catalyst: it runs on BigCommerce’s own infrastructure, deploys through the Catalyst CLI, and needs no separate hosting account. It’s currently in closed beta. See Choosing a Hosting Platform to compare the two.
Before deploying your storefront, make sure you’ve run it locally: see Run locally for One-Click Catalyst projects, or CLI Installation. Alternatively, ensure you already have the appropriate environment variables set up as well as a source code repository.
To deploy to Vercel, you’ll need to first sign up or sign in to your Vercel account.
Deploy with the Vercel dashboard
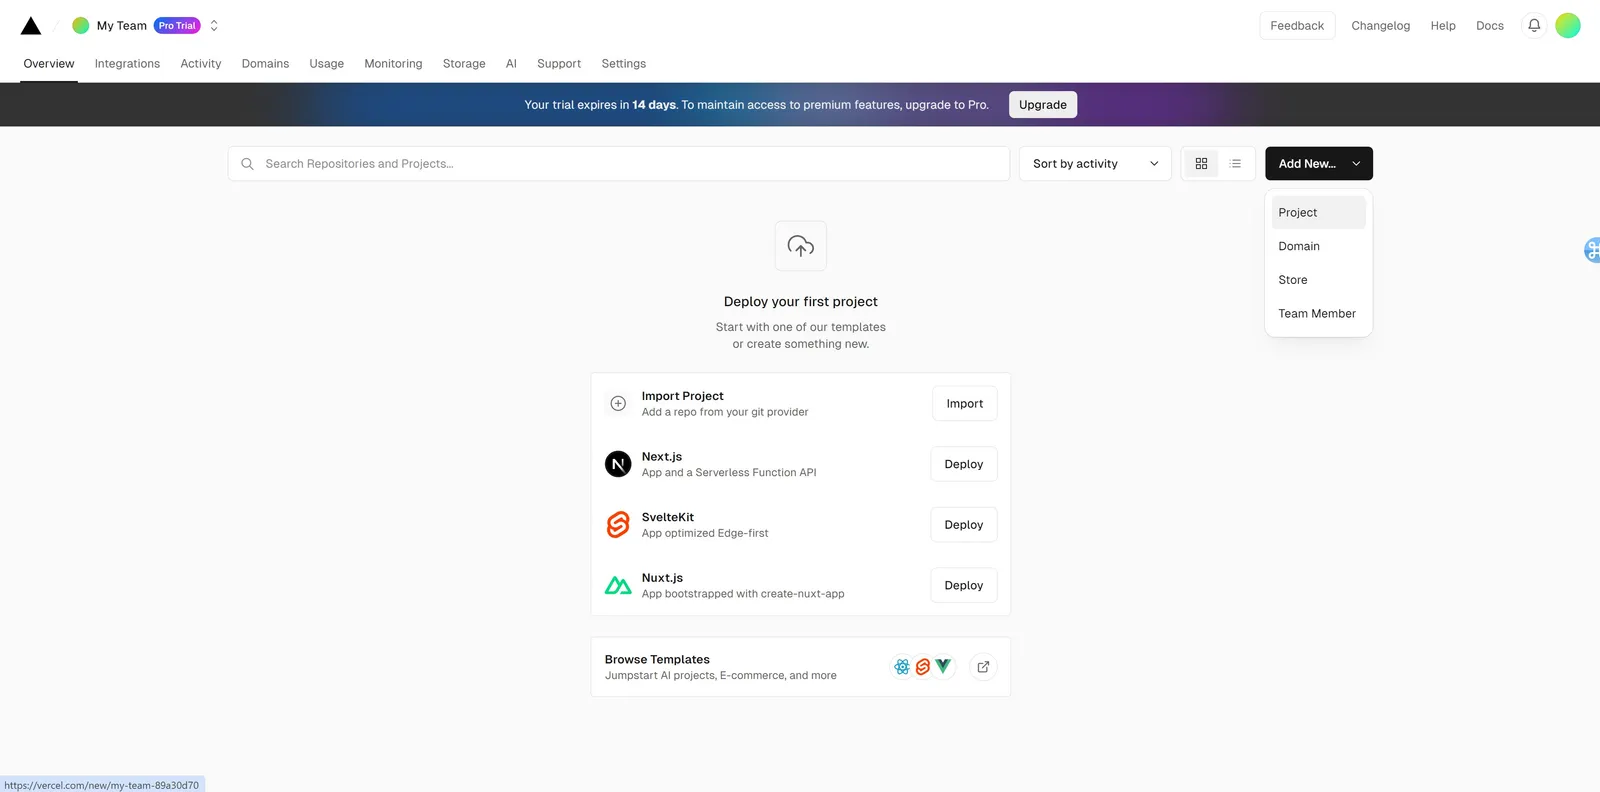
To deploy to Vercel using the Vercel dashboard, select Add New… > Project from the top right of the Overview page.
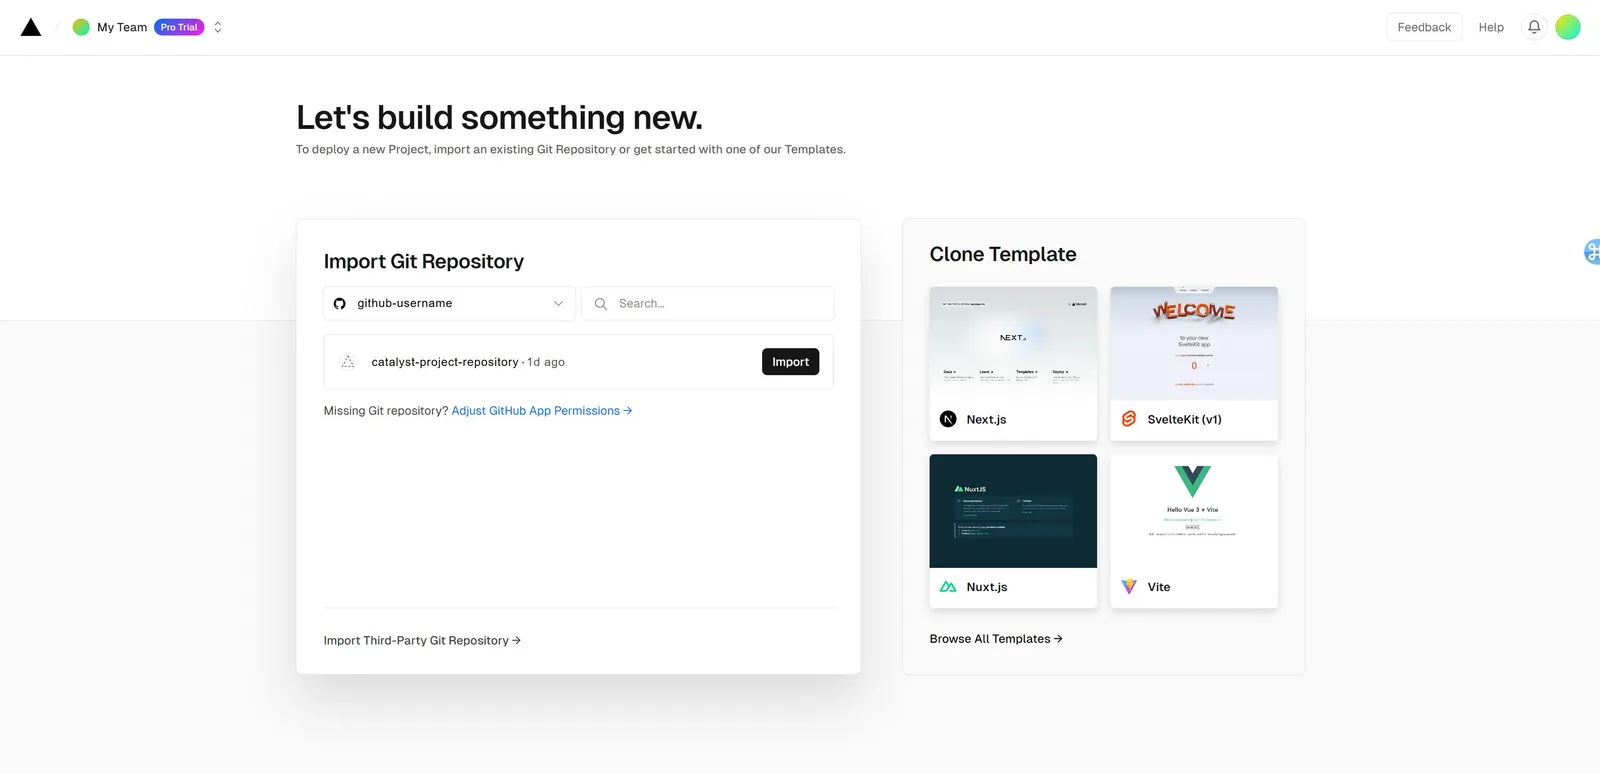
Then, connect to the GitHub, GitLab, or Bitbucket repository that contains your Catalyst storefront’s code.
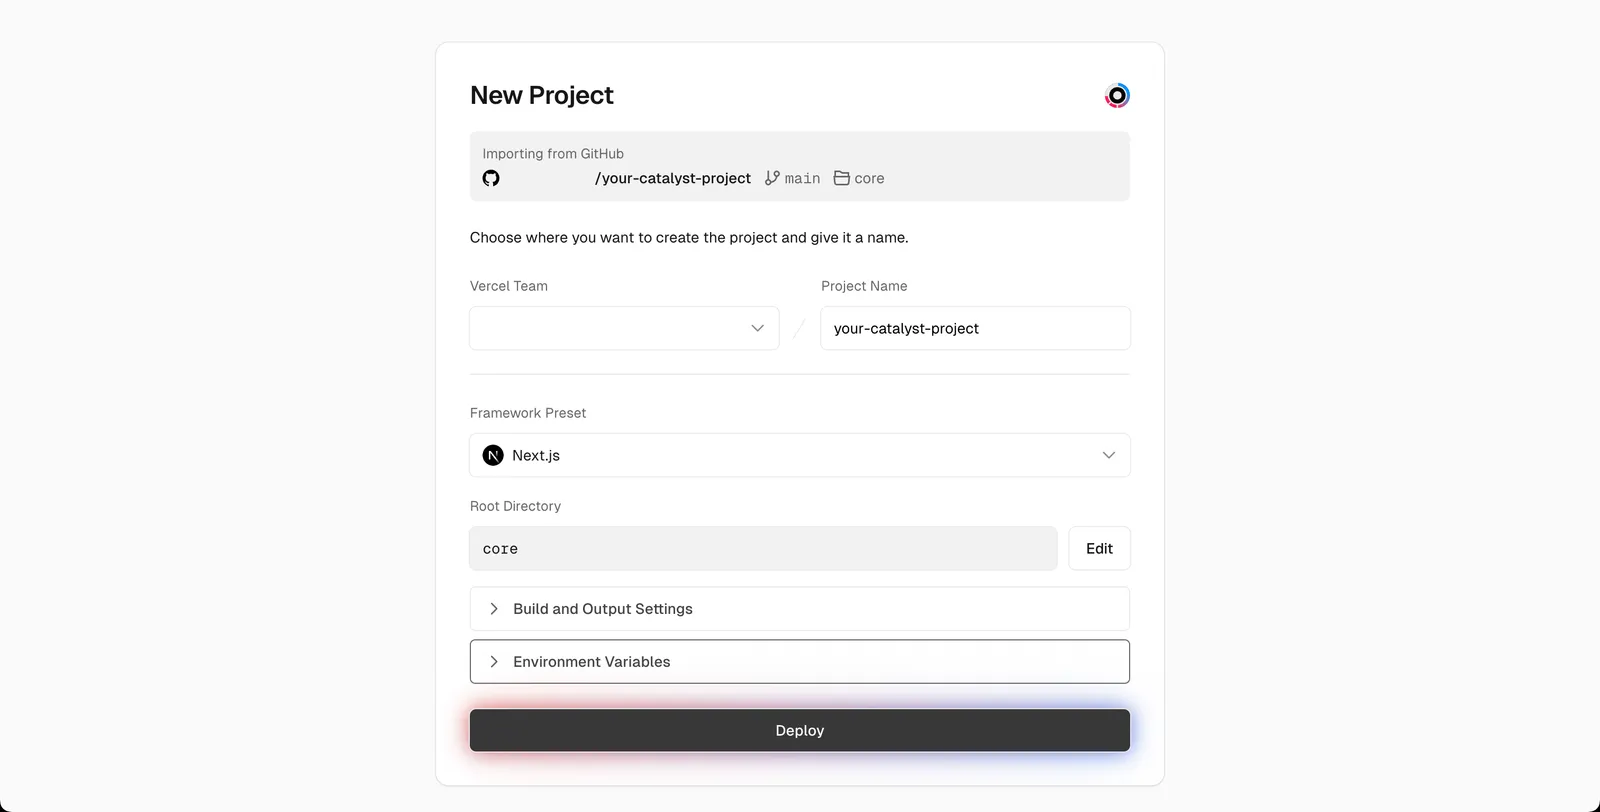
Set Framework Preset to Next.js. Projects created with the Catalyst CLI are a standalone Next.js application at the repository root, so you can leave Root Directory and the Build and Output Settings section as-is.
If your project uses the older monorepo structure, with the storefront nested in a core/ folder, click Edit next to Root Directory and select the core/ folder.
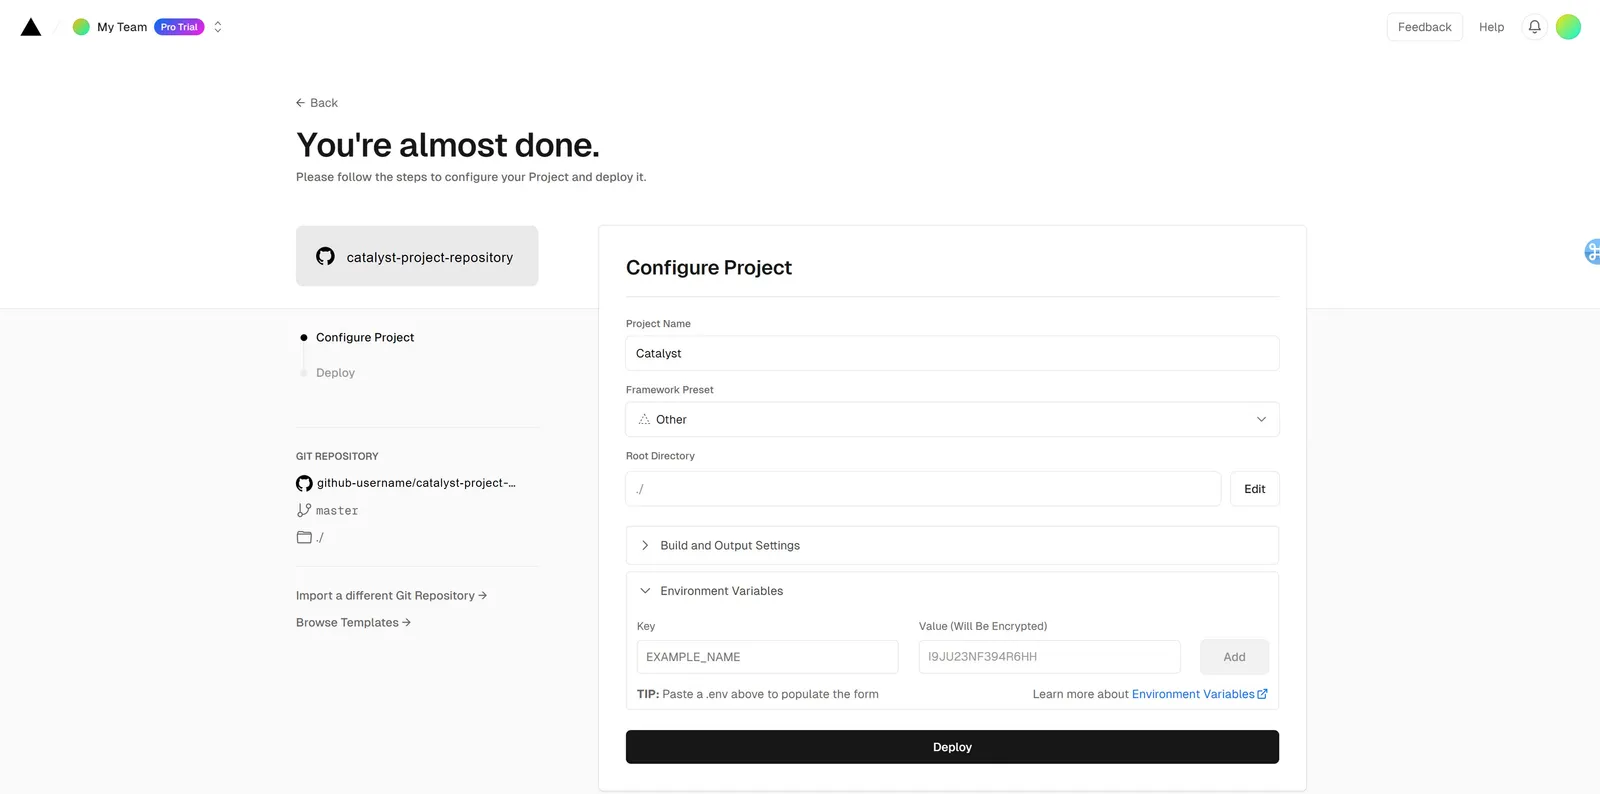
Next, add your environment variables. Then, click Deploy.
To learn more about deploying to Vercel, consult the Vercel deployments overview.
Deploy with the Vercel CLI
To deploy using the Vercel CLI, first install it by running npm i -g vercel or pnpm i -g vercel.
Next, in your terminal, navigate to the root of your project. Then, run vercel to create a preview deployment or vercel --prod to create a production deployment. If this is your first time using the Vercel CLI from this project, the CLI will take you through a few prompts to connect an existing Vercel project or create a new one, and you can use the answers below to help work through those prompts:
If your project uses the older monorepo structure, answer ./core to the directory prompt instead.
If you are creating a new Vercel project using the CLI, you need to add the environment variables; your first build will fail if no environment variables are populated. You can add the variables one at a time using vercel env add, or sign in to vercel.com, choose your project, and add them there.
Once added, navigate back to your Vercel project, click Deployments and click Redeploy inside the ellipses dropdown menu. For more information, see the Vercel CLI documentation linked above.
Update the Makeswift Host URL
If you are using Makeswift, you’ll need to update the Host URL property with the URL of your deployed site on Vercel. Vercel will automatically generate a URL for your project, but you’ll probably be using your own custom domain. Regardless, you’ll want to update the Host URL property within your production Makeswift site, not the development one. You can find this property under Settings -> Host.
Next steps
- Point your domains at the storefront and checkout. See Redirected Checkout.
- Keep your project current with
catalyst upgrade.