

Introduction
This tutorial demonstrates how to build a BigCommerce single-click app using Next.js, React, and BigDesign, BigCommerce’s library of React components.
You will learn how to connect your app to BigCommerce, integrate an API client, and set up a database to store app data. You will use BigDesign to give your app a native BigCommerce visual style and behavior.
The example feature you’ll build in this tutorial is a gift certificates manager — a working admin interface for viewing, updating, and refilling a store’s gift certificates. The application exercises the auth, session, API client, and storage layers that all apps need.
By the end of this tutorial, you will have:
- A Next.js app styled with BigDesign, BigCommerce’s React design system
- Real BigCommerce REST API calls against a live store
- A complete single-click app OAuth install and launch flow
- Session cookies and per-request authorization
- Per-store access tokens persisted to a local SQLite or deployed Postgres database
The tutorial is based on the BigCommerce starter single-click app.
Run the finished app first
If you’d rather skip straight to installing the example app rather than following the step-by-step guide, use the following quick start commands:
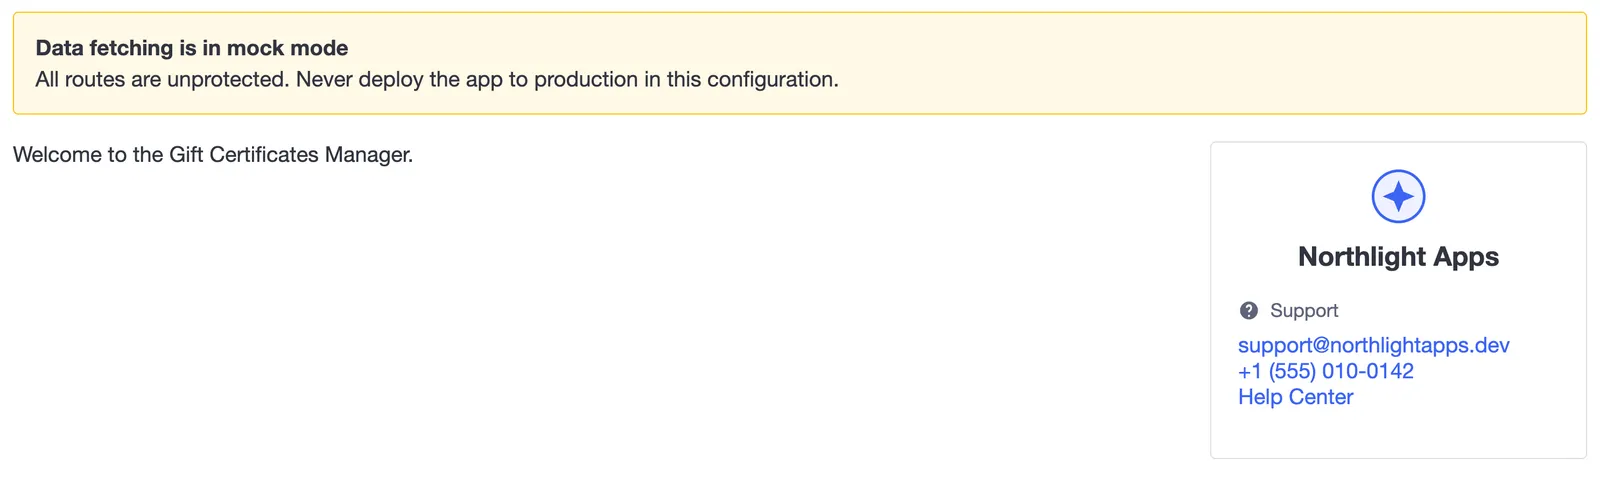
Browse to http://localhost:3000 or the localhost port shown in your terminal. By default, this runs the app in “MOCK” mode, with no real API calls, no storage, and no requirement of a single-click app context. See the full setup steps
in the repository documentation for the necessary config/setup to run the app in other modes. The repo docs also include a full Vercel deployment guide.
Prerequisites
To complete this tutorial you need:
- Experience with JavaScript, TypeScript, and React. Familiarity with Next.js is helpful but not required — the app uses the App Router, Server Components, and Server Actions, and the tutorial explains the patterns it relies on.
- Node.js and pnpm. The repository includes an
.nvmrcfile specifying the tested Node version. - A BigCommerce sandbox store or trial store, with control panel access as a user who can install apps. Required once you start integrating real store data.
- A free Developer Portal account for registering the app. Required once you start building the single-click install flow. Creating an account doesn’t require a partnership — that’s only needed to publish to the BigCommerce App Marketplace. See Beginning development for the wider context.
- A tunneling or port-forwarding service that can expose your local dev server at a public HTTPS URL. Also required for the single-click install flow, and covered in detail when you get there.
Set up your project
The tutorial starts from a boilerplate project with a number of layers scaffolded which are not the focus of the guide. Follow the steps below to create a clean copy of the boilerplate and run the initial app state.
Copy the start branch
Copy the e-start branch into your own working directory, replacing the path with your own:
Your new project should contain the directory src/components/gift-certs-manager.
Create your environment file
.env.example is the reference for every environment variable the app reads, with commentary on each one. Each exercise in the tutorial shows the additions and changes you need to make to .env.local, mirroring how they appear in .env.example.
.env.local holds API tokens and secrets. It’s gitignored — keep it that way, and never commit credentials to your repository.
Each exercise in this tutorial begins from the state the previous one ended in. If you need to start an exercise fresh — or you want to skip ahead — the starter repository has a tagged branch for the beginning of each exercise. The links are in the repository documentation.
The boilerplate
A number of layers that are not the focus of this tutorial are already present in your project boilerplate. These include:
- Third-party libraries: Most third-party packages used in the tutorial are installed in the boilerplate. BigDesign and
styled-componentsare the exception — you’ll install those yourself in the first exercise. - File stubs: To better facilitate the explanation diffs you’ll see linked throughout the tutorial, all files are already stubbed. You’ll flesh these placeholders out rather than creating new files.
- Error handling: Default error page routes and error handling utilities
- Basic UI: UI primitives for the shell layout and placeholder content
- Mock data: Mock data for gift certificates, along with data access layer functions you’ll refactor later. The initial tutorial steps will flesh out the UI while relying on mock data.
- Routing primitives: A “root” group defines pass-through routes used for URLs without a store hash in “MOCK” mode.
- Control panel syncing: A client component loads the BigCommerce SDK and subscribes to its
onLogoutevent, clearing the app’s own session when the user logs out of the control panel. See Manage user session timeouts for more on this practice.
View the full boilerplate for details.
Data modes
The app reads a DATA_MODE environment variable that selects one of three modes everywhere data is fetched. You’ll move through different data modes during the tutorial, so let’s review the concept before getting started.
Only MULTITENANT is a production mode. MOCK and STATIC are development affordances, and the app displays a warning banner in both to make that obvious.
After your initial setup, your store should be running in “MOCK” mode with mock gift certificate data.
Architecture reference
The starter repository’s architecture documentation describes the full design and the reasoning behind it: data modes, the install and session flow, two-tier authorization, credentials storage, the API clients, caching, and error handling. Refer to it whenever you want more depth than a tutorial step provides.
Ready to begin? Start with Build a UI with BigDesign.