

One-Click Catalyst
One-Click Catalyst
One-Click Catalyst creates a Catalyst storefront from the BigCommerce control panel. It also deploys a hosted preview and provisions a corresponding site in Makeswift, BigCommerce’s visual editor.
This code-free starting point lets marketers and content authors explore Catalyst and Makeswift without a developer. You can:
- Customize site theme and design
- Create and edit layouts
- Create and edit pages
- Incorporate BigCommerce product data
The automatically deployed storefront is only for previewing. To take your storefront to production, see Deploying a Catalyst storefront.
Prerequisites
Make sure you’ve met the prerequisites, including the required control panel permissions, before you continue.
Create a Catalyst storefront
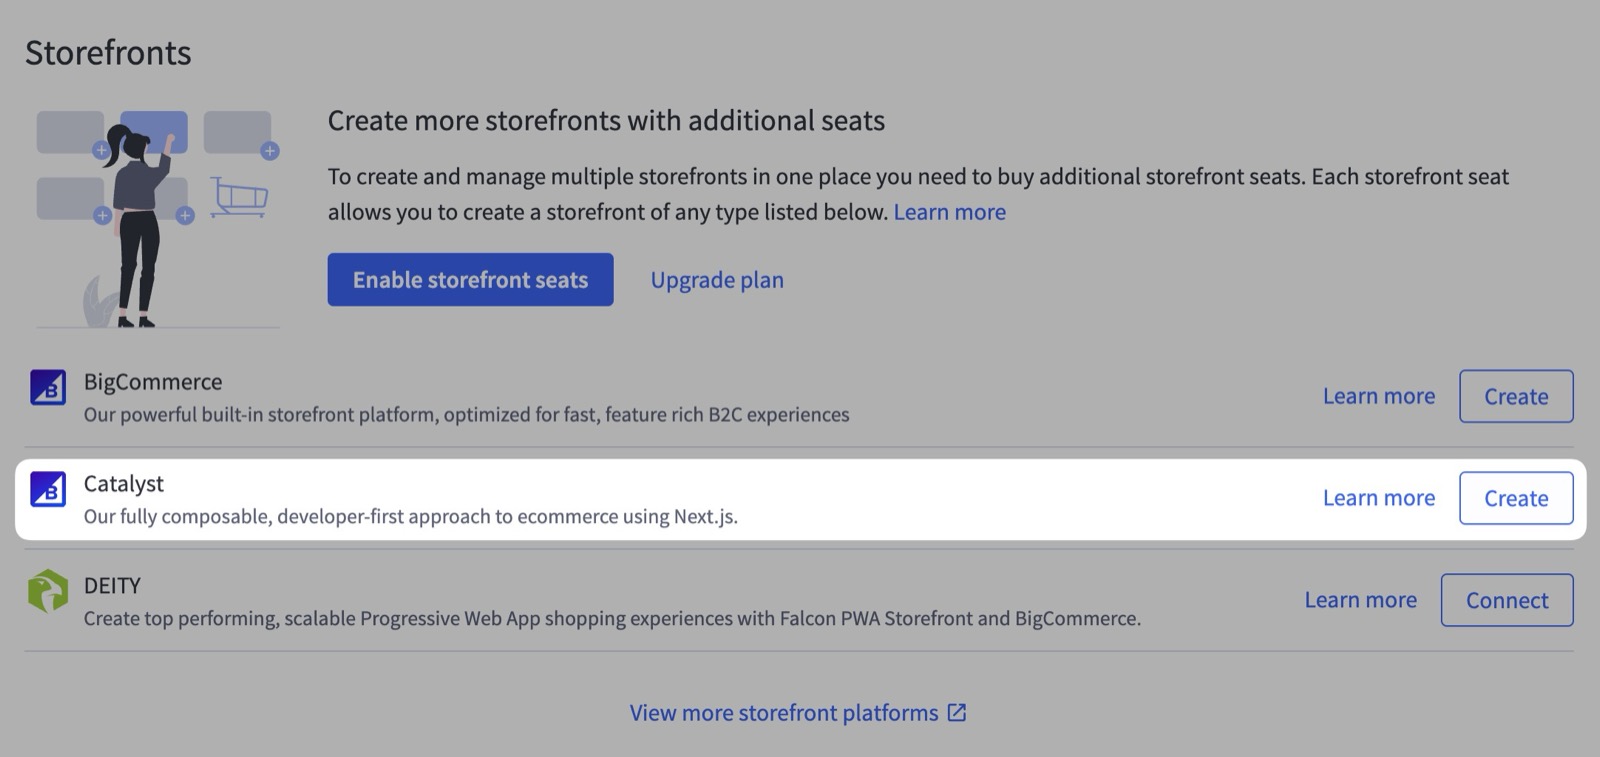
Start by logging into the BigCommerce control panel. Then, navigate to the Channels section, click Create Channel, and select Catalyst as the channel type.
Fill in some information about your storefront. Give it a name, then choose whether to use sample data; we recommend using sample data to start. Finally, choose your primary language and any additional languages you plan to support.
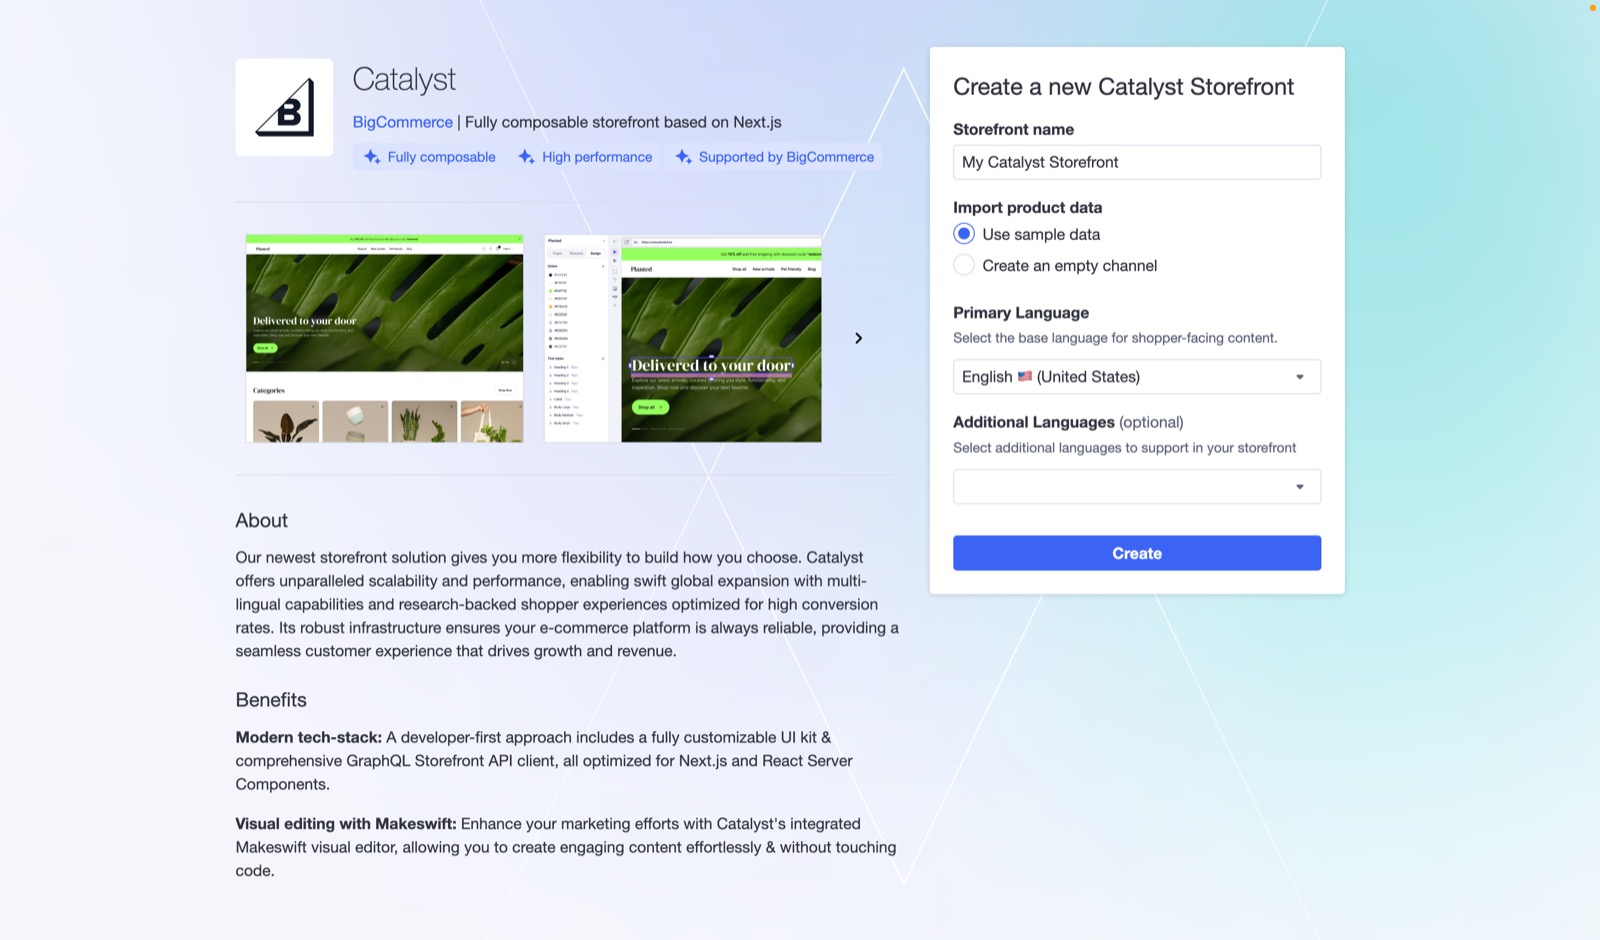
After you’ve filled in the necessary information, click Create to deploy the storefront. This process takes a few minutes.
Git tags determine which version of Catalyst the preview deploys. See How we use tags for details.
View your deployed storefront
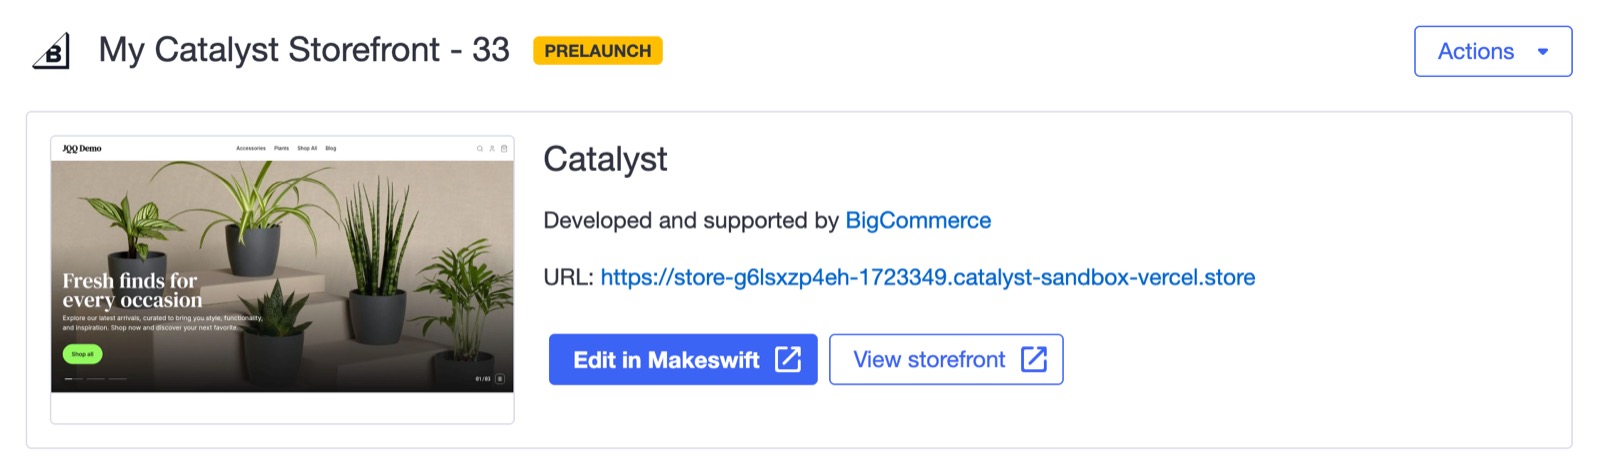
Once the storefront is deployed, click View storefront to visit it.
Makeswift integration
Makeswift is a visual page builder for designing pages, layouts, and components without code. One-Click Catalyst always provisions a Makeswift-connected project. See Editing and Syncing Content for how to edit your storefront in Makeswift and sync your product catalog to it, and Makeswift for the full Makeswift section.
After One-Click Catalyst setup, you have:
- An instance of Catalyst deployed to the BigCommerce partner sandbox account
- Two Makeswift sites
- Production site - connected to the deployed Catalyst instance
- Development site - connected to
http://localhost:3000
Run locally
Running your project locally is optional, but it gives you full control over your storefront’s code. With the source on your machine, you can:
- Create custom components
- Customize existing components
- Customize caching, routing, and more
- Integrate with other services, like Algolia or Contentful
Start the project on your machine
In the BigCommerce control panel dashboard for your Catalyst channel, the Complete Setup section lists a few steps. The Start development step includes a terminal command to run in your local environment.
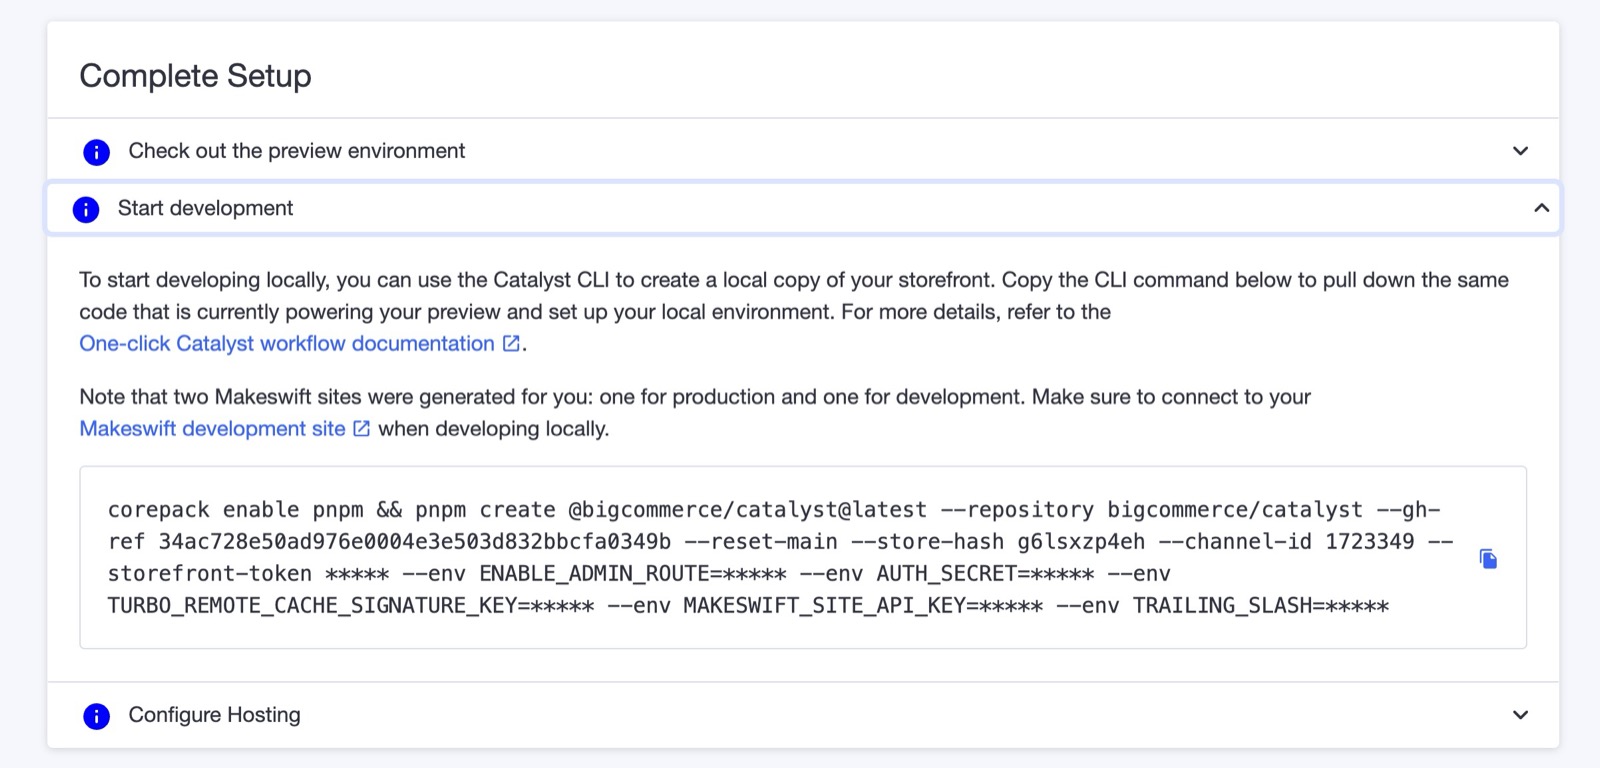
This command runs pnpm create @bigcommerce/catalyst (the same CLI command used in CLI Installation), pre-populated with flags for your channel’s connection details, your Makeswift site keys, and the same Git ref deployed to your preview. It does the following:
- Scaffolds your Catalyst project locally from that ref
- Writes the resulting environment variables to
.env.local - Initializes a local Git repository
The MAKESWIFT_SITE_API_KEY environment variable is the API key for your development Makeswift site.
After the command finishes, start the development server from your new project directory:
By default, Catalyst runs at http://localhost:3000, which is also the URL your development Makeswift site is connected to. Open the development site in Makeswift to edit your locally running storefront.
If your local project runs on a port other than 3000, update the Host URL property of your development site in Makeswift to match.
As you make changes in the code, they’re reflected in real time. Some changes may require a page refresh.
You can also connect to your One-Click channel from the CLI instead of the dashboard command: follow CLI Installation, and choose No when it asks whether to create a new channel. The CLI scaffolds a project without Makeswift unless you pass --gh-ref @bigcommerce/catalyst-makeswift@latest, and it doesn’t set your Makeswift site key.
Push to a remote repository
The dashboard command initializes a local Git repository, so you only need to connect it to a remote. These steps use GitHub, but any Git provider works.
-
Create a new repository on GitHub. Don’t initialize it with a README, license, or
.gitignore, since your project already has a commit history. -
From your project directory, add the repository as a remote and push:
HEADpushes whichever branch you’re on, so this works whether Git named your initial branchmainormaster.
Next steps
- Deploy to production with Native Hosting or another hosting provider.
- To create a Catalyst channel with the REST Management API instead of the control panel, see Manually create a Catalyst channel.