

Lab - Getting Started with Catalyst
In this exercise, you will walk through the steps to set up your own local Catalyst project, connected to your BigCommerce store. You’ll be able to use your local installation as a valuable point of reference as we examine Catalyst’s architecture.
In this lab, you will:
- Create a new Catalyst storefront and Makeswift site
- Install Catalyst and run a local dev server
Prerequisites
- A BigCommerce sandbox store or trial store, or a full production store, with an available storefront seat
- A control panel user with the following permissions: “Create Store-level API accounts,” “Install applications,” “Launch applications”, “Create Channels” (Learn about high-risk permissions)
- A command-line interface on your local machine
- Node.js 24 or later
- The pnpm package manager
- Git CLI
For following along in the code in future lessons, it’s also helpful to make sure you have a code editor, like VS Code, to open your Catalyst project once installed.
If you run into an error related to your maximum number of active storefronts during the Catalyst CLI installation, this means you do not have sufficient storefront seats.
In Channel Manager in your store control panel, you will need to either delete/deactivate a channel, “Add new” and confirm/update all requirements for multi-storefront if you haven’t previously done so, or else use a different sandbox store with an available seat.
Node Version Manager (nvm) is an alternative way to install Node.js and allows you to install and use different versions.
With nvm installed, you can install a specific version:
nvm install 24
… and switch to the Node.js runtime of any version you have installed:
nvm use 24
Whether you use nvm or install Node.js via another method, make sure you are running a compatible version:
node -v
Step 1: Create a Catalyst Storefront
- Log into your BigCommerce store control panel.
- Navigate to Channel Manager (or Channels) and Create channel.
- In the list of channel types, choose “Create” next to the “Catalyst” type.
- Enter a storefront name, select “Use sample data,” and click “Create” to finalize the storefront.
Once the provisioning process is begun, you will need to wait for the initial deployment to complete.
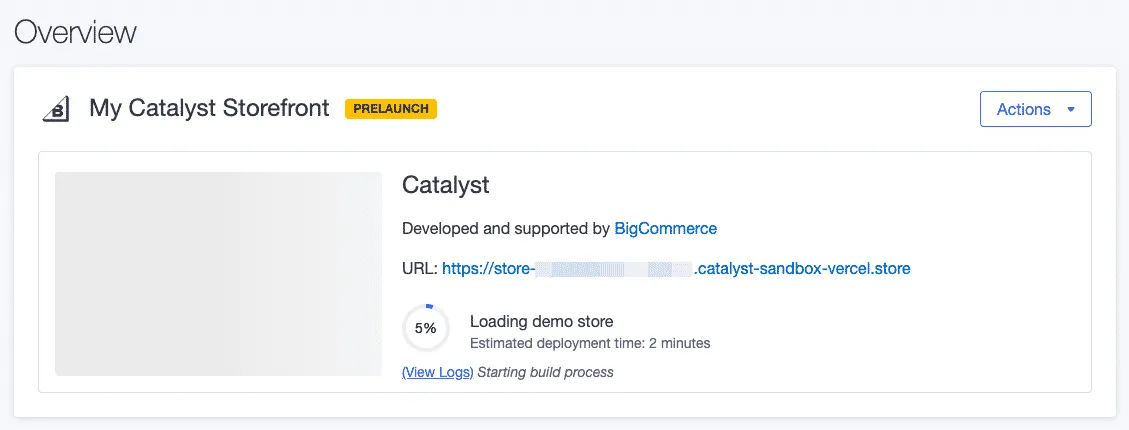
Proceed with the following steps after deployment is complete.
- Click the “View storefront” button to view your hosted preview storefront.
- Click the “Edit in Makeswift” button to launch the Makeswift editor and confirm that you are able to edit your pages.
You can return to the storefront overview page at any time by navigating to Channel Manager (or Channels) in your control panel and clicking on the Catalyst storefront channel.
The Catalyst Storefront
The process used to create your new storefront, referred to as One-Click Catalyst, has provisioned several things:
- The dedicated storefront channel.
- A deployment to a Vercel preview environment. Remember that Catalyst is a headless storefront application, which must be deployed on its own. The initial deployment to a sandbox URL like store-*.catalyst-sandbox-vercel.store allows you to immediately explore the functioning Catalyst front-end, but once you begin customizing, it’s time to deploy to your own hosting.
- A Makeswift site. The “Edit in Makeswift” button launches the builder for the Makeswift site corresponding with the storefront and controlling various visual content on it.
- Sample data including BigCommerce sample products and categories, as well as pre-configured content in Makeswift.
Note that the new channel page includes a CLI command in the “Complete Setup” section that can be used to immediately set up a local project connected to your new storefront. We’ll be using a version of the command with different options in the next step, but the principle is the same.
Step 2: Install the Catalyst Project
- At the command line, navigate to the directory one level above the desired location of your project and run the Catalyst installer.
Troubleshooting
The pnpm command is unrecognized.
In some environments where file permissions are highly restricted, you may need to prepend corepack to the use of pnpm commands (for example, corepack pnpm dlx create-next-app@latest ...)
- Respond to the prompt “What is the name of your project?” The value you provide will be the name of the directory created for the project.
You will eventually be presented with the BigCommerce device authorization URL - https://login.bigcommerce.com/device/connect - and a unique code.
- Press Enter or manually browse to the given URL and log into your BigCommerce account.
- If you have multiple stores associated with your account, choose the store you want to associate with your Catalyst project.
- Enter the code from your command line output, and click “Next.”
- Allow the required permissions.
With authorization completed, back at the command line, there will be new installation steps to complete.
- Respond to the prompt “Would you like to create a new channel?” with “No.”
- Select the storefront channel you previously created in the control panel.
The completion of the installation may take a few minutes. The installer will install the Catalyst code files into your local project, install all npm dependencies, and configure your store information and credentials.
- Navigate into your new project directory and run the following command to approve build scripts for the project’s dependencies.
Recent versions of pnpm require explicit approval of dependencies that are allowed to run scripts during installation, as a security measure. Running approve-builds --all approves all such scripts for this project. See the pnpm documentation for more details.
The CLI installer can also be used to create a new Catalyst storefront, bypassing the control panel process. This performs the same provisioning as in the control panel, including the preview deployment, Makeswift site, sample data, and language selection.
Note, however, that currently this is only supported on stores where the One-Click Catalyst flow in the control panel has been used previously.
Step 3: Run the Dev Server
- Navigate to the new project working directory.
Remember, your project working directory will be named using the project name you entered in the first installer step.
- Run the dev server.
- Browse to the URL displayed in the command line output. (Usually
http://localhost:3000)
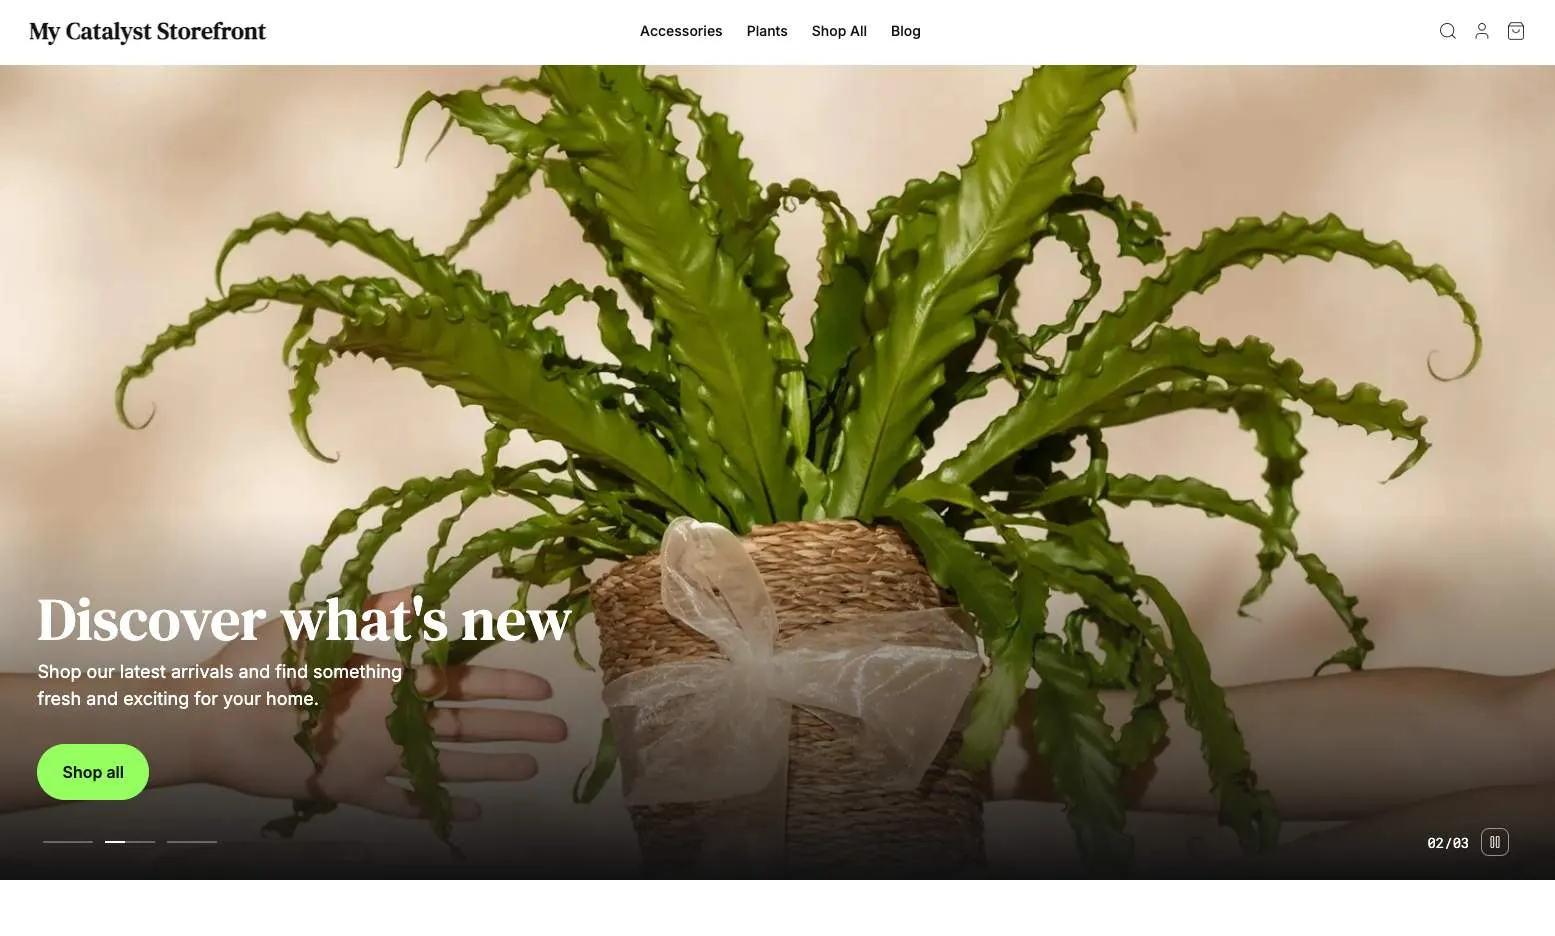
Provided that you chose to install sample data when creating your Catalyst storefront, you should see a fully populated storefront home page. Your local site should be nearly identical to your hosted preview environment, although as previously noted, there may be differences between the installed codebase and the deployed preview.
- If you are not still logged in the Makeswift editor, return to Channel Manager (or Channels) in your BigCommerce control panel, click on your storefront channel, and click “Edit in Makeswift.”
- In the Makeswift editor, use the site switcher in the upper left corner to switch to the “Dev” site (for example, “My Catalyst Storefront (Dev)”) and confirm that the localhost site successfully loads in the editor.
This “(Dev)” site in Makeswift has largely the same starter content as the main preview site but is powered directly by the project running on localhost. This is useful for seeing the effects of your local customizations within the Makeswift builder.
The main site and dev site are completely independent of one another. Content built or changed in one will not affect the other.
Troubleshooting
If you encounter an error while starting the dev server related to an issue finding a matching keyid, you may need to upgrade a pre-existing corepack_version.
npm install -g corepack@latest
Step 4: Examine the Local Configuration
- Open the file .env.local in your new project and observe the environment variables that have been created by the installer.
Unlike most of the other values in .env.local, CATALYST_ACCESS_TOKEN is only used by the CLI itself — for example, to authorize commands like channel link — and is never read by the storefront application at build time or runtime. Because of this, it does not need to be set in any deployment environment.
CATALYST_ACCESS_TOKEN is separate from the optional BIGCOMMERCE_ACCESS_TOKEN variable. BIGCOMMERCE_ACCESS_TOKEN can be scoped independently of the CLI’s own authorization, and is used by the storefront application at runtime for certain features that require REST API access.
- Browse to the /admin path on your local storefront to visit your BigCommerce control panel.
The Local Dev Server and Cache
At various points while working in your local project, you may need to restart your dev server or clear the Next.js cache. Below is an example set of steps to do both.
- Stop the local dev server (CTRL-C at the command line).
- Clear the contents of the Next.js cache directory. This is located at .next/cache in your project working directory.
- Start the dev server again.
Make sure only to clear the cache when necessary. Clearing it means the next build starts from scratch, which takes longer.