

Create Custom BigCommerce Templates with React in Stencil
Scenario
As a Solution Architect at BigCommerce, I meet clients and agencies who want to incorporate React into their Stencil theme. Maybe you want to utilize your existing component library, or React is just your preferred front-end framework. In some cases, those projects end up going the headless route, where the website’s front-end lives outside of BigCommerce and integrates with BigCommerce APIs to manage catalog data, customer accounts, promotions, carts and even checkout. Other times, we combine React with Stencil so that BigCommerce hosts the front-end. I’ve seen a few approaches to incorporating React into a Stencil theme and each has its pros and cons. This article is intended to be a step-by-step guide to starting custom templates with React in a Stencil theme in a way that is scalable and reusable.
Source: Patrick Puente - Create Custom BigCommerce Templates with React in Stencil
What is React?
React is one of the most popular front-end frameworks available today. It allows developers to build reusable components with a self-contained state which can be composed into complex UIs. There are oodles of tutorials and examples of React available online, so I won’t spend a lot of time explaining it here.
This lab is intended for developers that are already familiar with the basic concepts of React. In this lab, you will create a React component that receives a context prop that contains information from Stencil about the category page, like the products it should display.
The Approach
This example leverages the pattern devised by sacr3dc0w to map a custom template to a custom JavaScript module. In this case, the module extends the PageManager class and uses its onReady method to render React inside of an element in the custom template. The custom template will retrieve information from Stencil utilizing Handlebars, and inject that into a global variable called context that is accessible by the JavaScript module via the PageManager constructor. The JavaScript module in turn passes the page context to React as a prop.
In this example, the actual React component will simply display the text “Hello World” followed by the data from Stencil.
Prerequisites
- Stencil Development Environment & Cloned theme
- BigCommerce Store
- Node and npm
- Stencil CLI
- Cornerstone Theme
Install Dependencies
- Add React, ReactDOM, and the React preset for Babel to your project
Configure Webpack
- In webpack.common.js, add
['@babel/preset-react']to modules.rules[0].use.options.presets
This is the presets array from the example:
See the whole webpack.common.js on github here.
Optional: Add CSS loader
While it’s not required for this example, you will want to also add loaders for CSS files if you intend to add CSS files to your React app, or plan to use a component library that includes CSS modules like React Toolbox. These steps have been tested for React Toolbox:
- Install Dependencies:
- Add the following to the modules.rules array in webpack.common.js:
Create a Custom Template
- Create a new folder at templates/custom/category
- Windows
- Mac/Linux
The resulting structure of the templates folder should look like this:
- Copy templates\pages\category.html to the new folder and rename it react-demo.html:
- Windows
- Mac/Linux
- In react-demo.html replace everything between {{#partial “page”}} and {{/partial}} with:
- The {{inject}} helper adds the category object from Stencil to the page context your custom JavaScript module will be able to access
- The <div> will display “Hello World!” so you can test to validate the template mapping. It will also serve as the mounting point for React
Map the Custom Template in config.stencil
In the project’s config.stencil file, you will map the custom page template file to a category page URL. This is so you can render your custom page template in your local environment. Once the theme is applied to a store, you will need to map specific categories to the template to use your custom template on the live site. For more on applying custom templates, see the BigCommerce documentation.
If you prefer to simply change the default template and apply your template with React to every category, you can make the same changes to the existing templates\pages\category.html and assets\js\theme\category.js files, then skip this mapping step.
Test the custom template
- Confirm your template is mapped correctly by starting the local development server with Stencil CLI:
- Navigate to the mapped URL on localhost to ensure your template is rendered. For example: http://localhost:3000/shop-all/
- You should see the global header and footer, and the text Hello World! in the main content area:
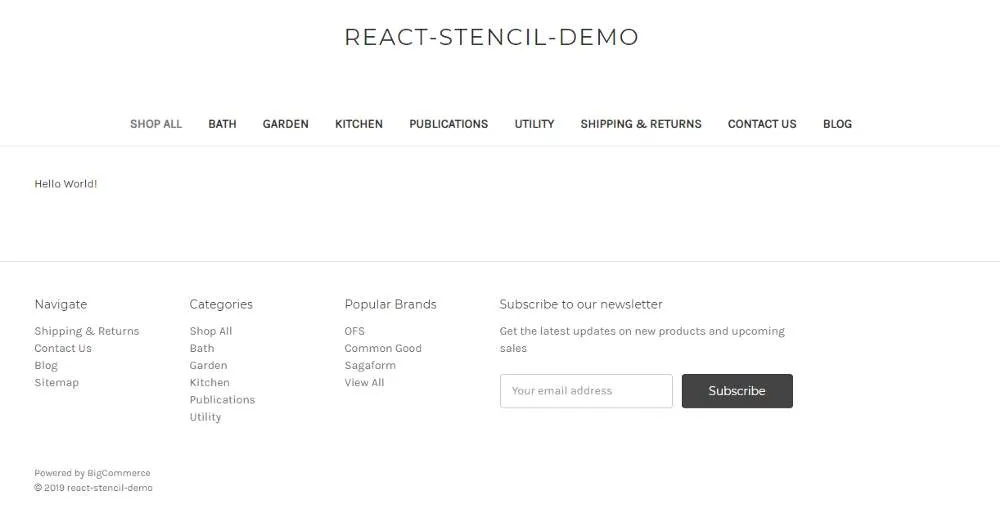
If you prefer to replace the entire page, including the global header and footer, with your React app, consider creating a custom layout file that removes the header and footer. Learn more about Stencil template composition in the BigCommerce documentation.
Create a Custom Module
The React app will live in assets\js\theme\custom\react-demo.js. Start by creating the folder.
- Create a folder named custom
- Windows
- Mac/Linux
-
Create the file react-demo.js
-
In react-demo.js, import React, ReactDOM, and PageManager:
- In react-demo.js, create a simple HelloWorld component that displays its props:
Note: The preconfigured rules for eslint in Cornestone do not play nice with JSX. You may choose to modify the eslint rules in .eslintrc. Alternatively, you can disable eslint for specific files by adding this comment to the first line of the file: /*eslint-disable*/
- In react-demo.js, export a new child class that extends the PageManager class. This class is responsible for mounting the HelloWorld component in the div in the custom category template, and passing the page context to the component as a prop.
Your file should look like this:
Map the Custom Module to the Custom Template
- Add a mapping to the customClasses object in assets/js/app.js
- Since the value of context.template in app.js may vary depending on the environment, the example maps the module to the value provided by both Windows and Mac/Linux environments:
- Observe result
- When you visit the category page in your local environment, you should now see a custom category template that renders React, and has access to the category page context supplied by Stencil:
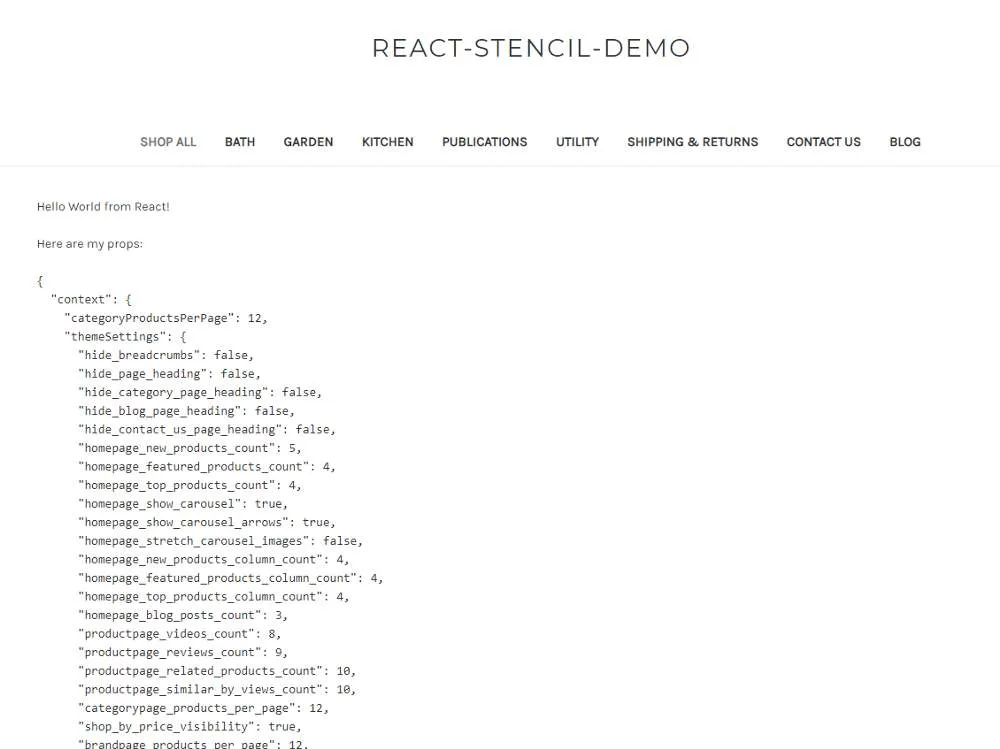
Notice how context.category includes information from Stencil needed to render a product listing page. You could use the {{inject}} helper in templates\pages\custom\category\react-demo.html to add additional information to the page context. Or, you could follow the same pattern to load custom React modules into product, brand, or web pages.