

Lab - Getting Started with the Stencil CLI
Developing a custom Stencil theme usually starts with cloning the official default theme, Cornerstone. To develop effectively in a local environment, you’ll use the Node.js-based Stencil CLI tool to run a local server, connecting your custom theme code to your BigCommerce store data.
In this lab, you will:
- Create an API account for Stencil
- (Optional) Enable Makeswift
- Clone the Cornerstone theme
- Install Stencil CLI
- Connect your local theme files to your BigCommerce store
- Run a local dev server
Prerequisites
To successfully complete this tutorial, you will need the following:
- A BigCommerce store admin user with the “Create store-level API accounts” permission
- Node.js 20 or later
- The Git CLI
- A command-line interface on your local machine
Node Version Manager (nvm) is an alternative way to install Node.js and allows you to install and use different versions.
With nvm installed, you can install a specific version:
nvm install 20
… and switch to the Node.js runtime of any version you have installed:
nvm use 20
Whether you use nvm or install Node.js via another method, make sure you are running a compatible version:
node -v
Step 1: Create an API Account
- In the BigCommerce control panel, navigate to Settings > API > Store-level API accounts.
- Click “Create API account” and select “Stencil CLI token” as the token type.
- Enter a name for the account.
- Select “publish theme” as the Stencil CLI access level.
You’ll use this API account in a later lab to bundle and publish your theme. For proper access control, you should create a separate account with the “local development only” access level for any team members who should have permission to develop on the theme but not upload it.
- Save the account and record the access token that is displayed in the resulting modal.
Step 2: Optional: Enable Makeswift
For users wanting to explore the capabilities of the Makeswift editor, you can opt in from the control panel and provision a Makeswift site for your Stencil storefront.
Makeswift for Stencil is currently in beta. Features and availability are subject to change.
- In the BigCommerce control panel, navigate to Channel Manager.
- Select your Stencil storefront channel to open its channel entry.
- Opt in to Makeswift for the channel.
- Click “Edit in Makeswift”. The first time you open the editor, BigCommerce provisions a Makeswift site for your channel, which may take a moment.
Once provisioning completes, the Makeswift editor opens with a live preview of your storefront. You can return to it at any time using the “Edit in Makeswift” button on the channel entry.
Step 3: Install Stencil CLI
This step only needs to be performed once for a specific version of Node.js.
- Run the following command to install the Stencil CLI tool.
Remember to make sure you have Node.js 20 or later running before installing the package. If you’re using Node Version Manager:
nvm use 20
The command will install the stencil-cli package globally. This will allow you to use it in multiple Stencil theme projects using the same version of Node.js.
ARM Based Macs
For ARM based Macs, you will need to run the following before installing the package:
arch -x86_64 /bin/zsh
Installing Dependencies on Windows
See the BigCommerce documentation for more details on options for installing dependencies on Windows before installing the Stencil CLI package.
- Test the stencil command and verify that a list of possible sub-commands is output.
Step 4: Clone the Cornerstone Theme
- Run the following command to clone the Cornerstone default theme from GitHub to a local location.
- Install npm dependencies.
You should now have a complete copy of the Cornerstone theme source files, with dependencies installed in the node_modules directory.
Step 5: Initialize Stencil
This step only needs to be performed once for a given Stencil theme project locally.
You’ll need the access token you recorded after creating the API account in your control panel.
- In your theme working directory, run the following command.
This init command will generate a configuration file connecting your local theme package with your store.
- Replace <store_url> with the fully qualified URL of your Stencil storefront (for example, “https://<store-name>.mybigcommerce.com”).
- Replace <access_token> with your recorded access token.
- The —port option specifies the local port the server will run on (for example, localhost:3000).
- The —packageManager option specifies which package manager to use for dependencies.
You may also choose to run the command with no options:
stencil init
This will result in interactive prompts allowing you to provide appropriate values.
- Verify that the file config.stencil.json has been generated in your main theme directory.
Step 6: Start the Live Preview
- In your theme working directory, run the following command to start a local dev server with a live preview of your theme.
- If necessary, choose a storefront to run from the interactive prompt.
After the dev server starts, you should see output printing the local URL(s) you can use to access the preview.
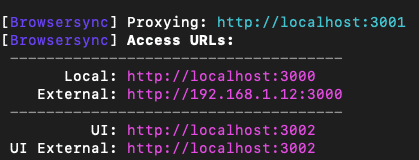
- Browse to the main “Local” access URL printed in the output. This should be
http://localhost:3000if you used the 3000 port in the init command. Verify that your storefront is loaded in the browser.
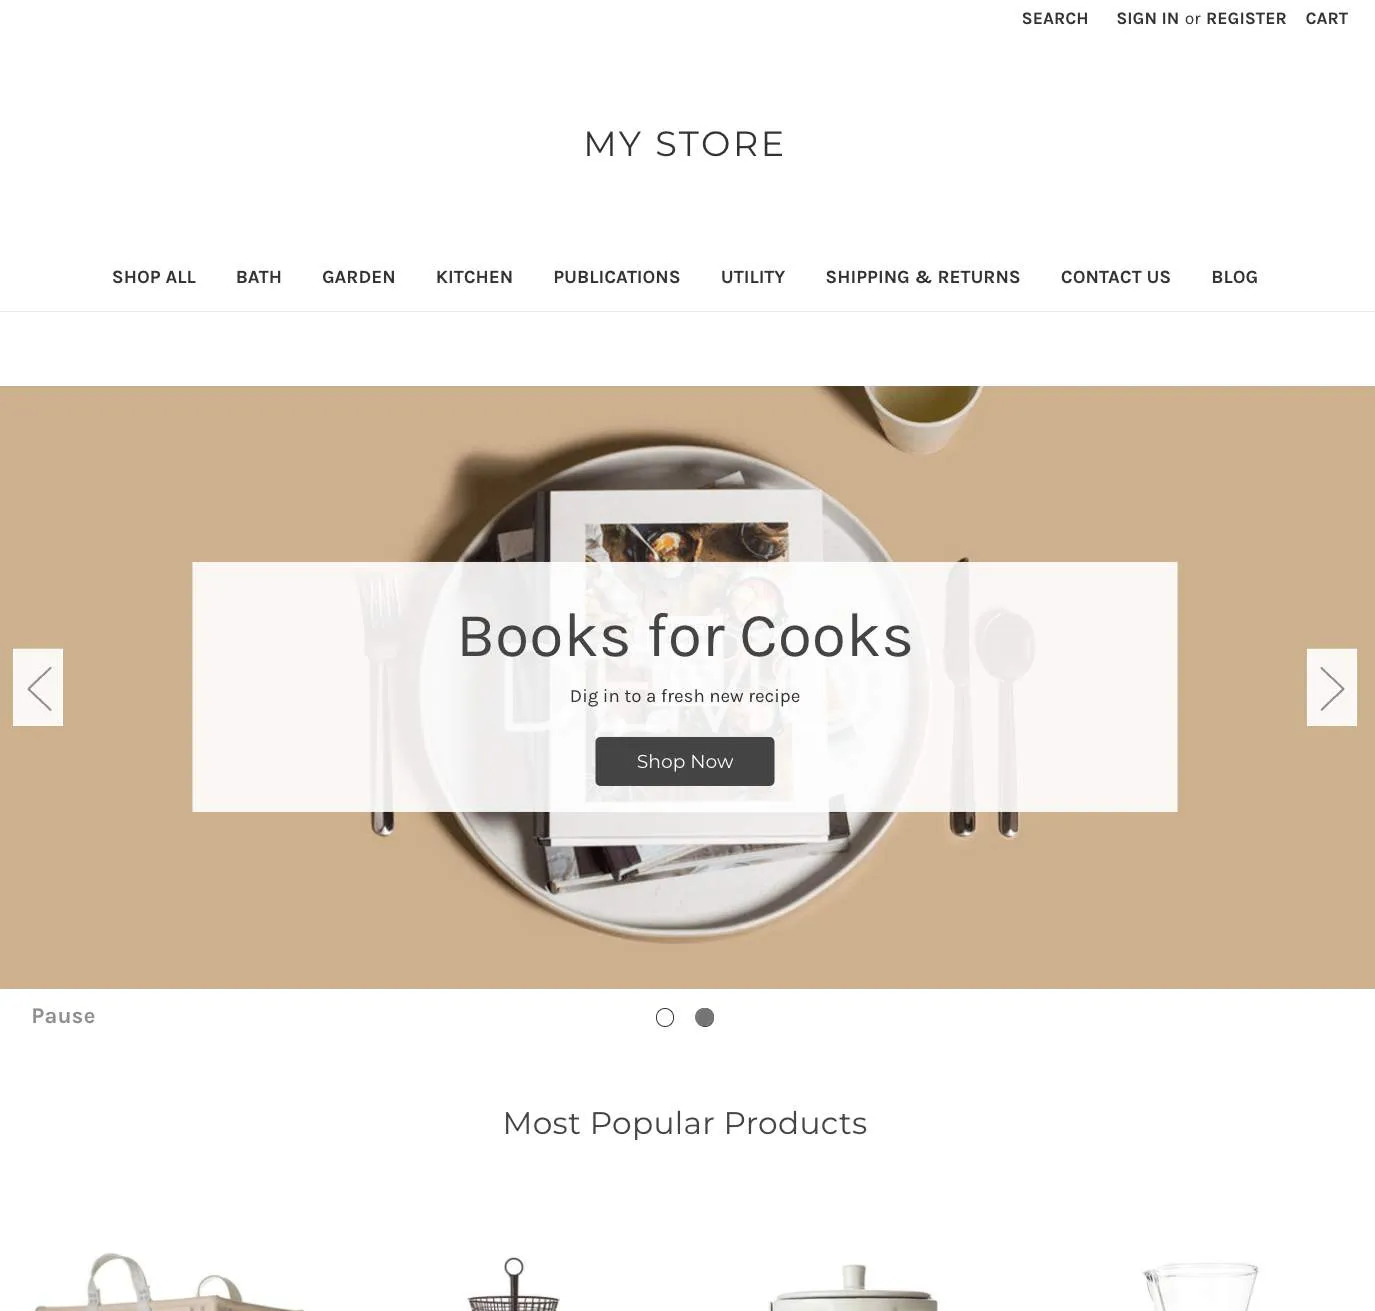
You should leave the dev server process running in your terminal as you customize and preview your theme. When you’re ready to stop the server, simply cancel the process (Ctrl+C).
Run stencil start from within your theme directory at any time to restart the dev server.