For AI agents: a documentation index is available at the root level at /llms.txt and /llms-full.txt. Append /llms.txt to any URL for a page-level index, or .md for the markdown version of any page.
Dev Portal
DocsAPI ReferenceLearnCommunityChangelog
    • Overview
  • Learning Plans
    • Developer Foundations
    • Composable Developer
    • Stencil Developer
    • B2B Developer
  • Courses
        • Stencil Theme File Structure
        • Lab - Edit config.json File
        • Lab - Customize Components
        • Lab - Customize Layout and Pages
        • Lab - Customize Assets
        • Lab - Add a Custom Font Bundled with the Theme
        • Lab - Language File
        • Lab - Theme Editor Text Fields
        • Lab - Debugging Your Stencil Theme
      • Conclusion
    • Learning Changelog
Dev Portal
LogoLogo
On this page
  • Step 1: Rearrange Components on a Page
  • Step 2: Remove Social-Links Component
  • Step 3 - Add a New Component
CoursesStencil CoreModule 2: Customize the Stencil Theme

Lab - Customize Components

Was this page helpful?
Previous

Lab - Edit config.json File

Next

Lab - Customize Layout and Pages

Built with

Plan: Stencil Developer

Lesson 6 of 16 · 30 min

In this lab, you will:

  • Rearrange components on a page
  • Add and remove components

Prerequisites

  • Previous labs have been completed

Before proceeding, either switch back to the original variation (stencil start), or ensure you are making changes in the Settings of the variation created above.

Step 1: Rearrange Components on a Page

  1. Navigate to Templates > Components > Common
  2. Open templates/components/common/header.html
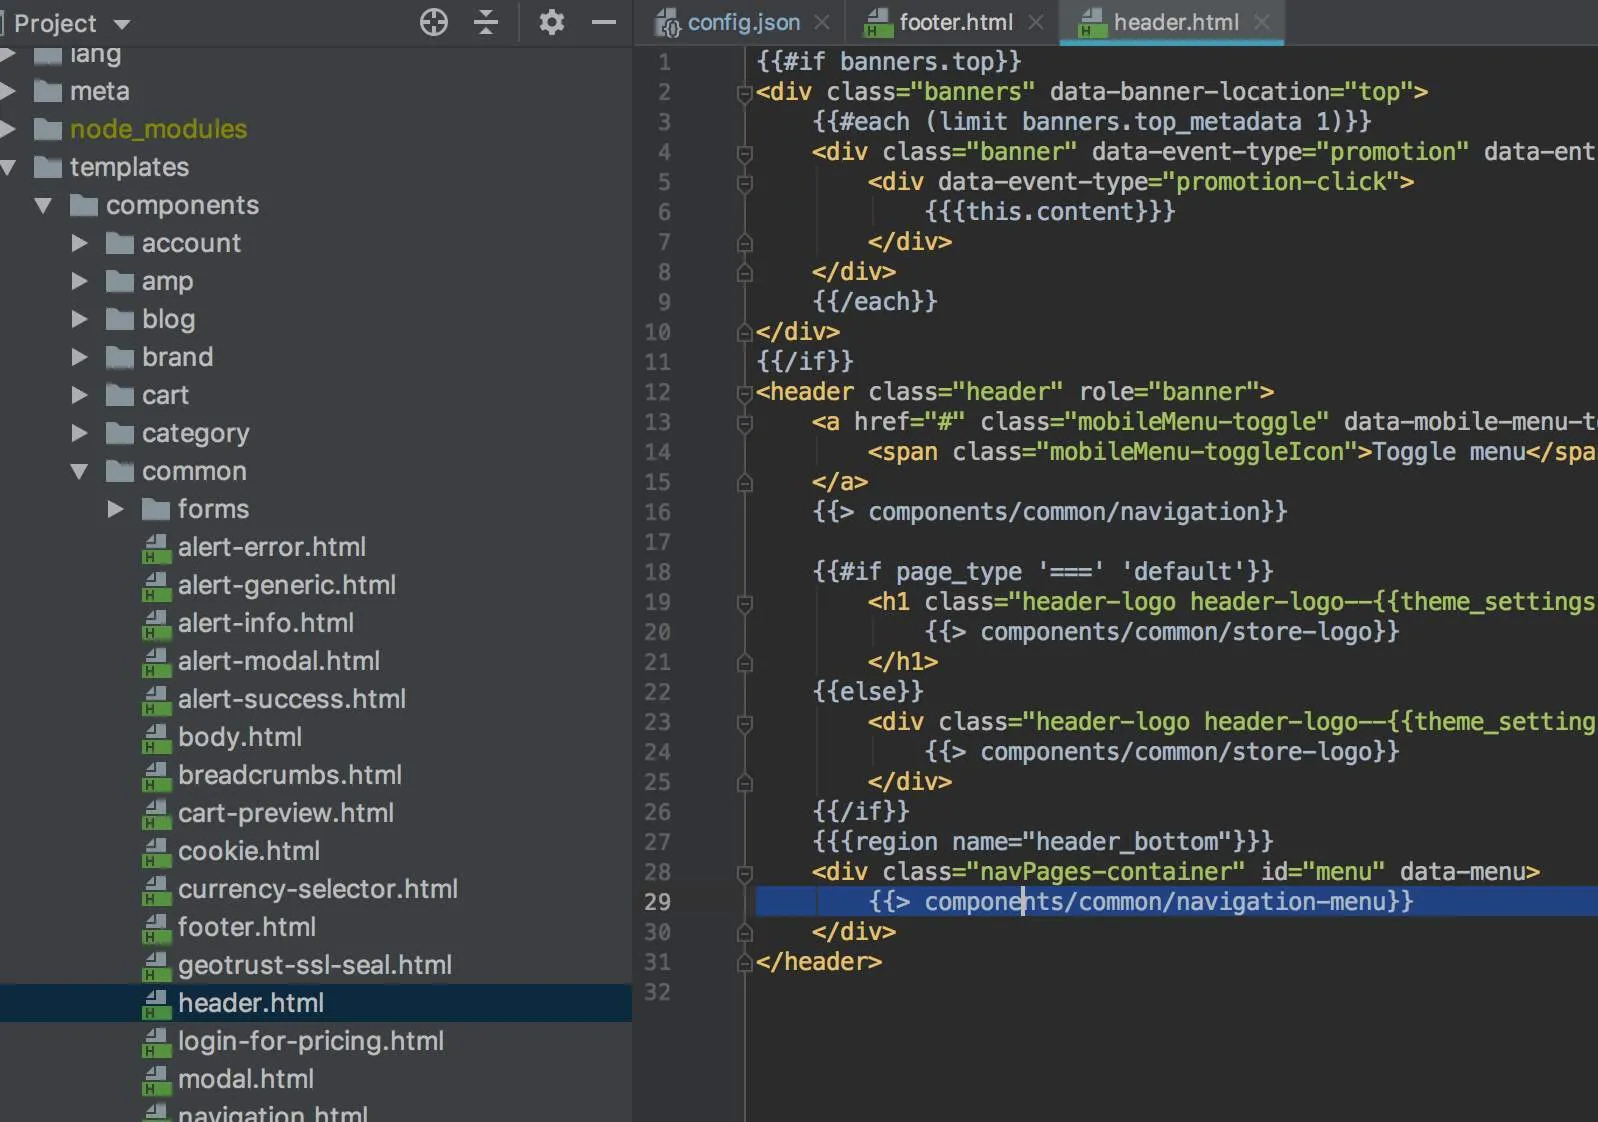
  3. Locate and cut the following snippet:
{{> components/common/navigation-menu}}

Navigation menu snippet location

Navigation menu snippet highlighted

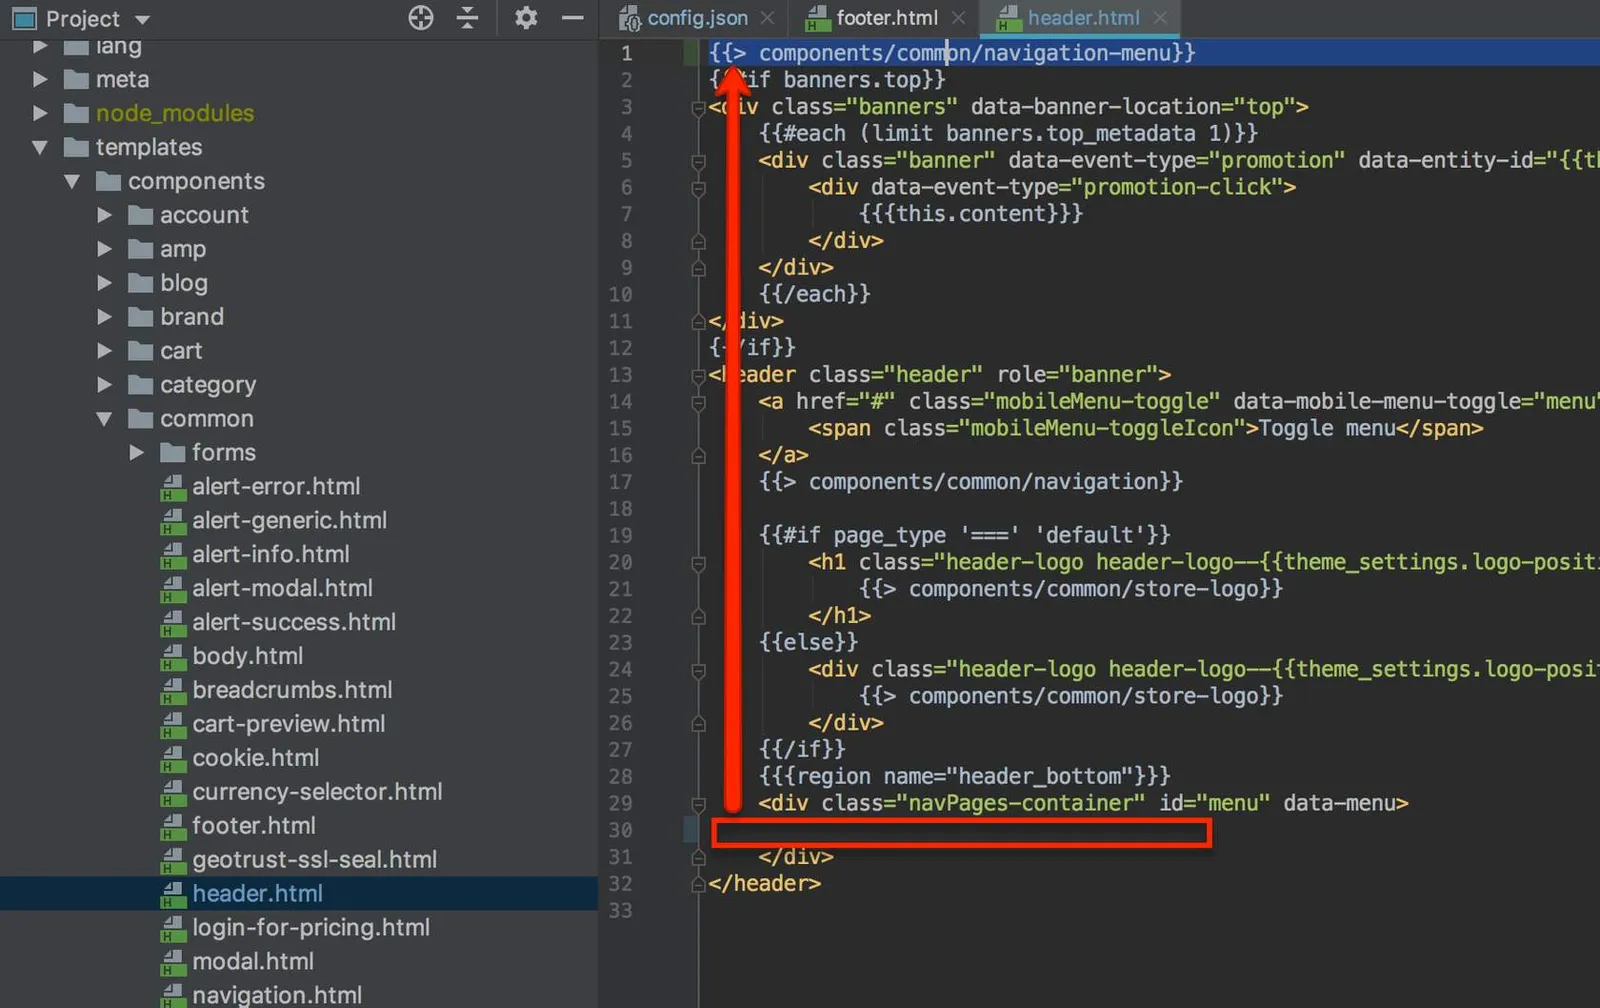
  1. Paste at the very top of the file

Navigation menu pasted at top

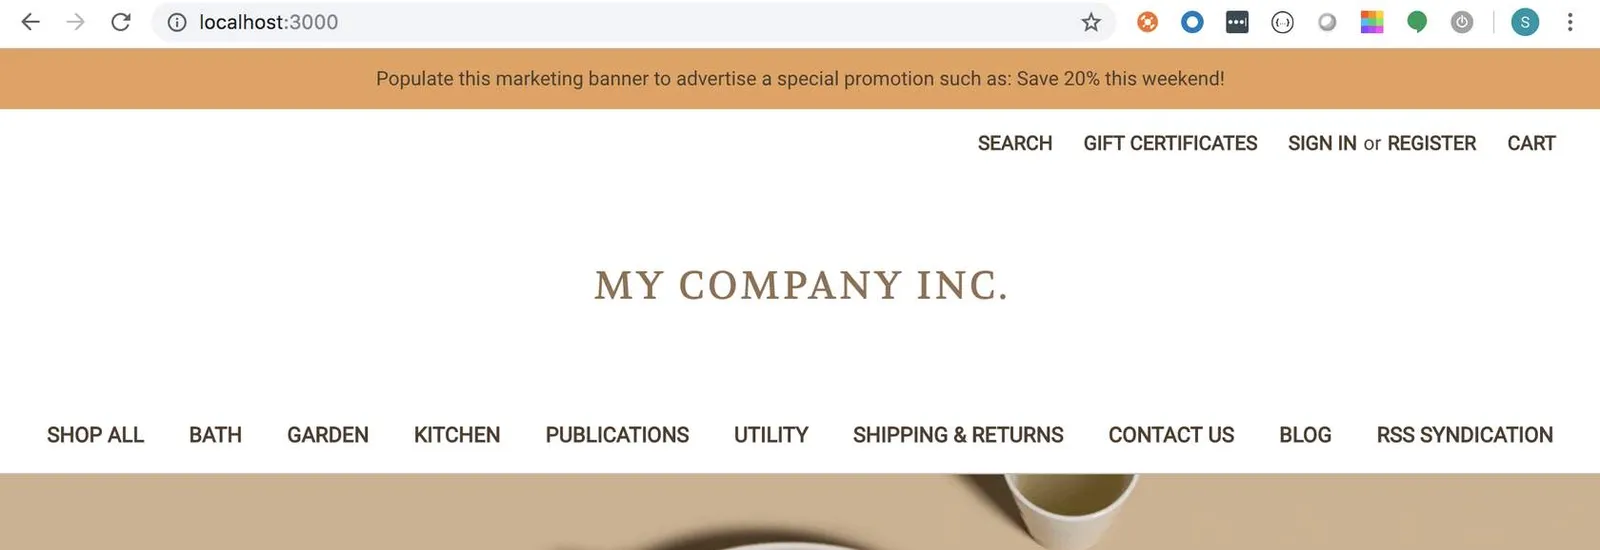
  1. Observe navigation menu moved to top of page
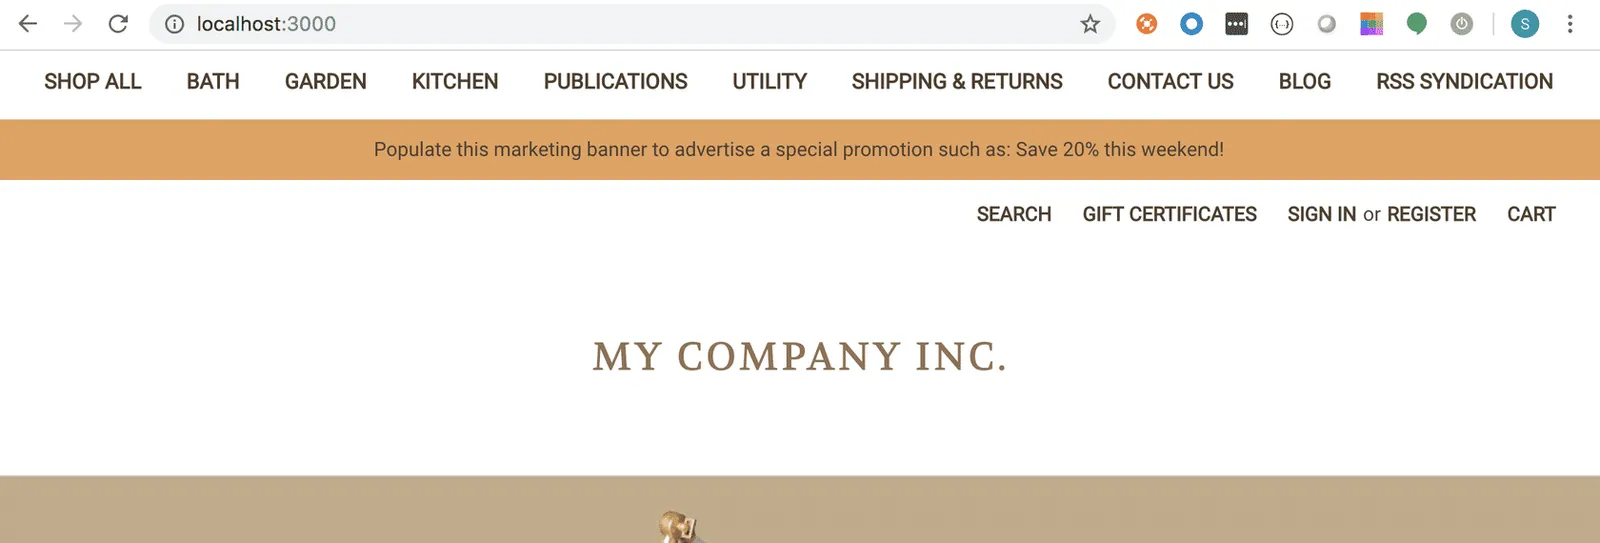
Navigation menu moved to top of page

Step 2: Remove Social-Links Component

Introduction

Before you begin the next step, make sure you have visible Social Links on your storefront. Social Links will only be visible if they have been enabled through the Storefront > Social media links in the control panel.

Additionally, if you haven’t enabled any social link icons in the control panel (Storefront > Social media links), only the text from the custom component will be visible.

  1. Navigate to Components > Common
  2. Open footer.html
  3. Locate and delete the following snippet:
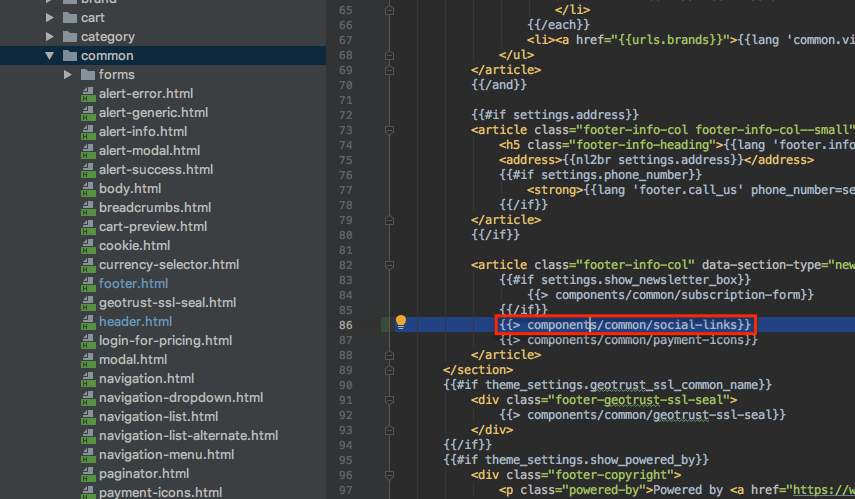
{{> components/common/social-links}}

Social links snippet in footer

Step 3 - Add a New Component

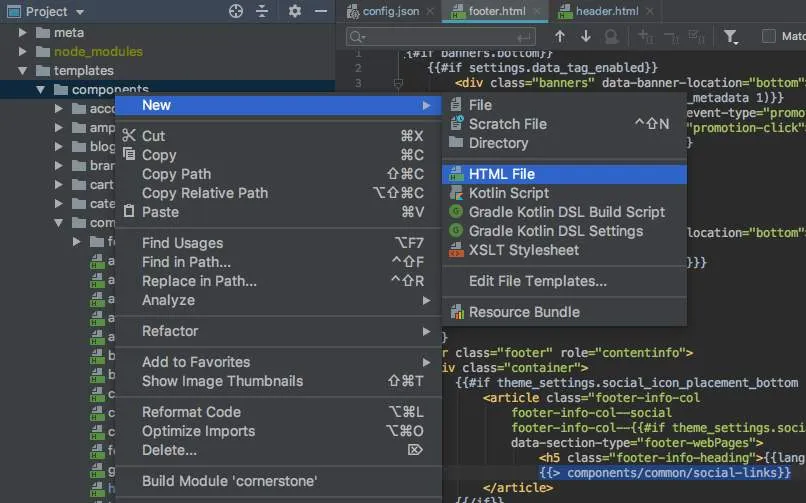
  1. Right click on Component
  2. Select New > HTML File

Create new HTML file

  1. Name the new file “test.html” and click OK
  2. Replace the contents of the new file with plain text (ex. TEST)
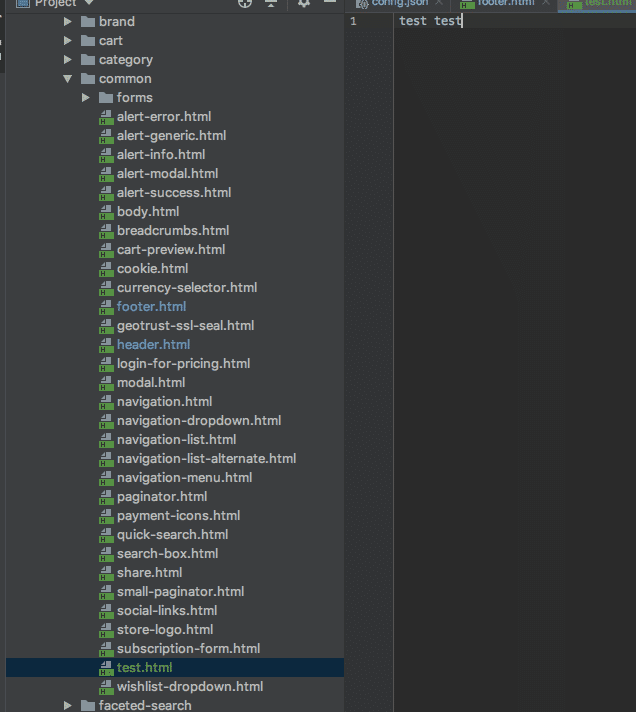
Test component contents

  1. Add the new component to the footer.html file directly under the payment-icons component
{{> components/common/test}}
  1. Observe test component text on storefront
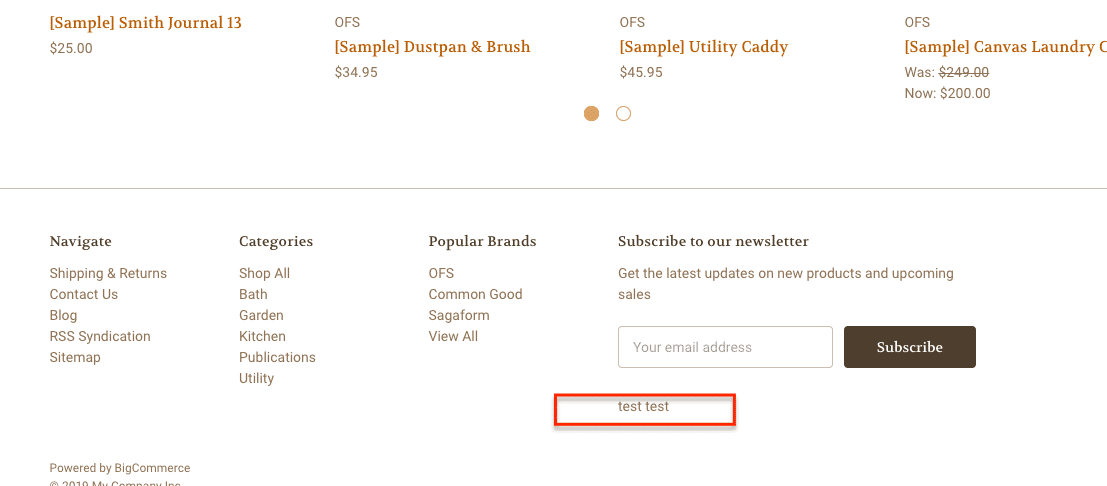
Test component on storefront