

Lab - Create a Widget Template to display Dynamic Data
Summary
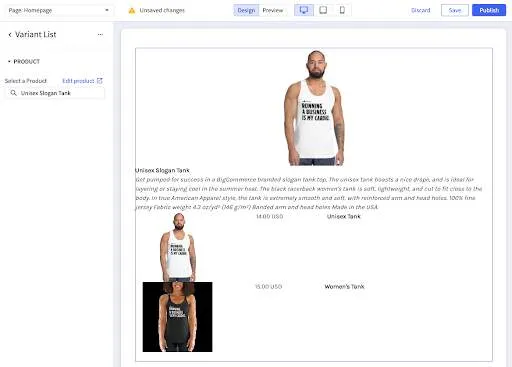
In the previous section you used page builder widget UI inputs to configure static content including a product image and some text entered in Page Builder. In this section, you will combine Page Builder with your store’s GraphQL Storefront API to create a dynamic widget powered by GraphQL. The goal of this section is to create a widget template that dynamically displays a product’s default image and product description above a list of the product’s variants that displays the image, price, and SKU of each variant based on the Page Builder user’s product selection:
In this lab you will
- Write the GraphQL Query
- Write the Widget Template Schema
- Write the Widget Template Markup
- Create and Use the Widget Template
Prerequisites
- BigCommerce store with at least one product
- (optional) A product with multiple variants and variant images
- Stencil theme with at least one region
- A REST client like Postman
- BigCommerce API credentials
Create a Widget That Displays Data from the GraphQL API
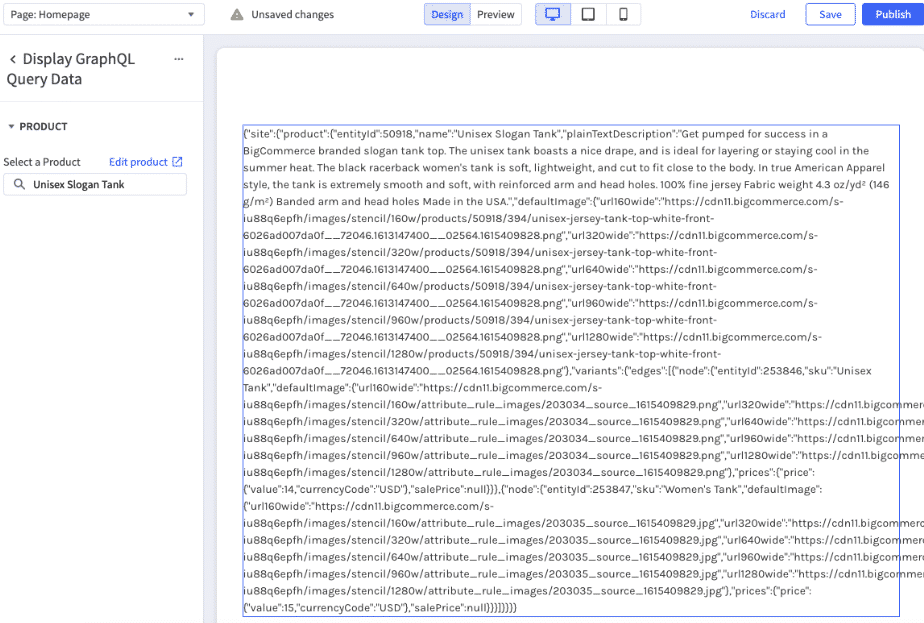
In this section you will focus on integrating data from GraphQL into your widget template such that when a shopper selects a product using a Product ID setting in the Page Builder UI, information about that product will be displayed in JSON on the page.
Write the GraphQL Query
In the following steps, you will use the Storefront API Playground to test a GraphQL query that, given a product ID, requests the following information:
- The product name
- The first 1000 characters of the product description
- The product’s default image at multiple sizes
- The product’s variants including each variant’s
- image at multiple sizes
- price
- SKU
- id
Until you integrate your query with your widget template you will need to manually supply the product ID to test it. Start by finding the product ID for your product.
- Log into your store’s control panel then navigate to Products > View and locate your test product.
Finding the right test product.
This example will work for any product, but you will have the best result if you use a product that has multiple variants, each with its own SKU and image.
KB Article - Variants
- Click the product’s name, then observe the product ID in your browser’s URL.

- Open the Storefront API Playground to begin testing your query. From your store’s control panel, navigate to Settings > API > Storefront API Playground.
You should see a UI with some example queries where you can write a query in the left pane, configure query variables in the lower left, run the request, and see the results on the right. You may need to expand the query variables section in the lower left.
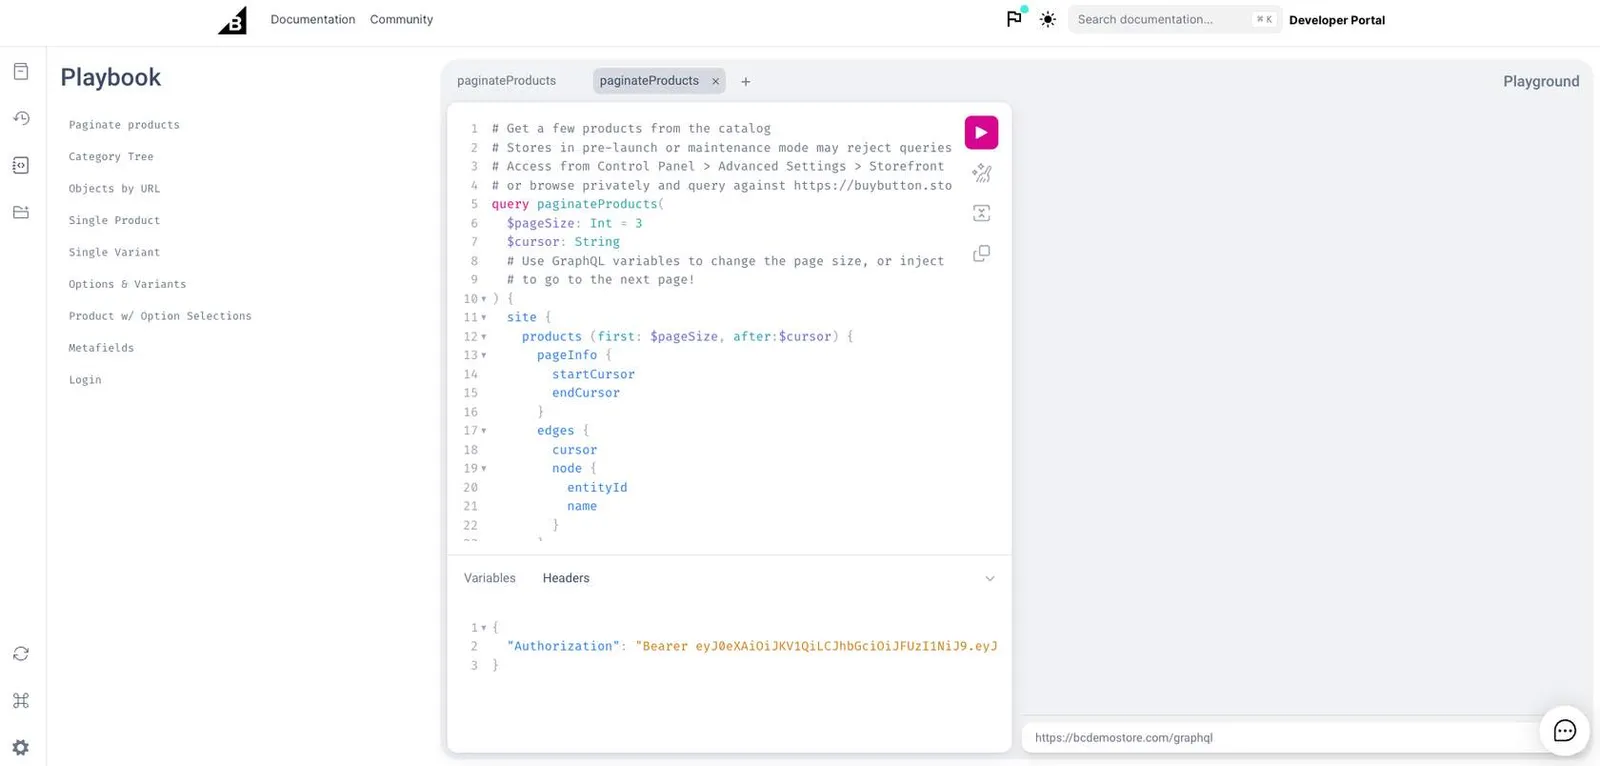
- Open a new tab in the playground or edit the query in an existing tab, then type or paste the following query into the query editor:
- In the Query Variables section to the lower-left section of the playground, add the following:
Be sure to replace the product’s ID (50918) in the example above with your test product ID.
- Click the “Play” button to run the request.
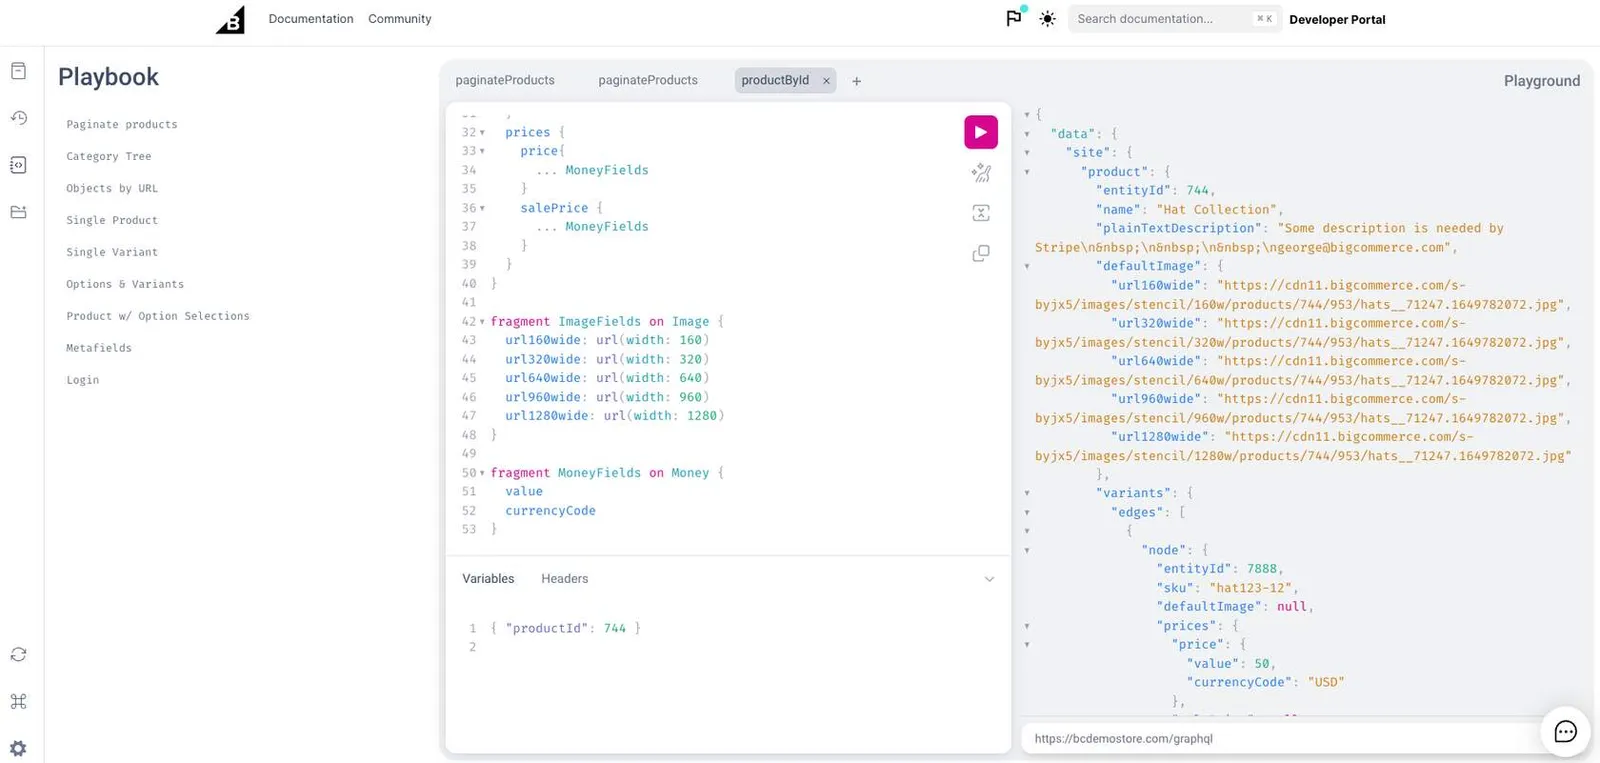
You should see information about your product in the query results pane on the right:
Why does my result say “product”: null?
If you get a null result for your product query, that means that you, as an unauthenticated storefront API user, are not authorized to see that product. This could be because…
- The productId variable is not a valid product id.
- The product is not visible on the storefront or assigned to a category
- The product is assigned to a category that is hidden by customer group permissions
- The storefront is not publicly visible
- Once you successfully receive a query result, prepare your query for use in your JSON widget template by removing all newline characters. Consider using the “find and replace” feature in your preferred text editor, or a tool like this one to either remove newlines or properly escape them (i.e. replace newlines with \n): Code Beautify
The resulting query should look like one of the following:
With newlines removed:
With newlines escaped:
- Begin writing your Create a Widget Template API request body by creating a JSON object with a name and a storefront_api_query.
Example: Here
At this point you should have the beginnings of a widget template that looks like this:
Write the Widget Template Schema
The widget template’s schema defines the inputs a content creator can use to configure a widget. When a widget template includes a GraphQL query, the schema is also used to populate the query variables with selections from other inputs (like a product ID). Widget templates use Handlebars to access the configured values to determine the content, markup, and styles to display. In this section, you will write an array of schemas containing a product ID input to select a product from the catalog.
Throughout this section, you will write HTML and JSON to create the request body for a Create a Widget Template POST request. You may reference the following code sample during the following steps to check your work:
Use a text editor of your choice to write JSON for the following steps. These steps will walk you through creating the schema array in the Create a Widget Template request. To create the configurable fields in the Page Builder sidebar, the schema must include exactly one tab at the root level. To map the product ID from the user’s product selection to the $productId variable in the GraphQL query, the schema must also include exactly one hidden element on the root level. In this case, the tab contains one section which contains settings for heading text, image upload, image width, and text block content.
- In your text editor, create an array containing a single tab object:
- Add a section object with a label string and an empty settings array to the sections array. Example:
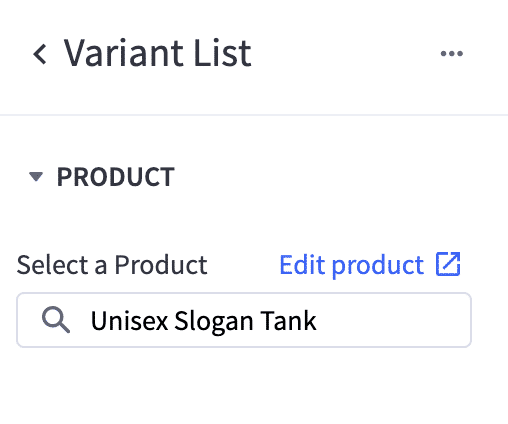
- In the settings array, add a Product ID setting. This setting’s value will be used to populate other information about a product in the catalog, so the default text and the label should reflect that usage:
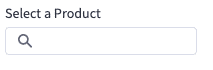
Example:
At this point, your schema should contain a single tab that looks like this.
- At the root level of the schema, add a hidden element that maps the value of productId to the $productId variable in the GraphQL schema:
At this point, your schema should contain both the tab and hidden elements like this example.
Write the Widget Template Markup
While the widget template schema is used to define the input and map the input’s value to the GraphQL query, the template’s markup will be used to define the structure and styling of the widget. Widgets access the results of a GraphQL query on the underscore (_) object. For example, to reference the GraphQL data, you can use the following Handlebars expression:
By default the data is an object rather than a string, so simply adding {{_.data}} to a template will result in output like “[Object object]”. In this example, we simply want to print the result in a widget so you will use the {{json}} Handlebars helper to convert the object to a string and triple curly brackets to prevent BigCommerce from converting special characters into HTML entities:
- In a text editor of your choice, write a DIV tag containing the stringified GraphQL query result.
Example:
- Wrap the HTML in quotation marks to add it to your JSON in the next section.
Create and Use the Widget Template
Having written the GraphQL query, schema, and markup, you are now ready to use the Widgets API to create a widget template. You will begin by writing the API request body, then you will use a REST client to create the template, then you will test your template in Page Builder.
- Write a JSON object including a name, storefront_api_query, schema, and template using the schema and escaped markup as the schema and template respectively, and with a descriptive name. Example here
- Use your REST client to send your object as a POST request body to the Create a Widget Template API.
Take note of the widget template’s id in the response body. You will use the id to update the widget in the next section.
- After you send the request, your new widget should be available in Page Builder. Open Page Builder by navigating to Storefront > Customize in the BigCommerce. Look below the default list of basic widgets to find the Custom section:
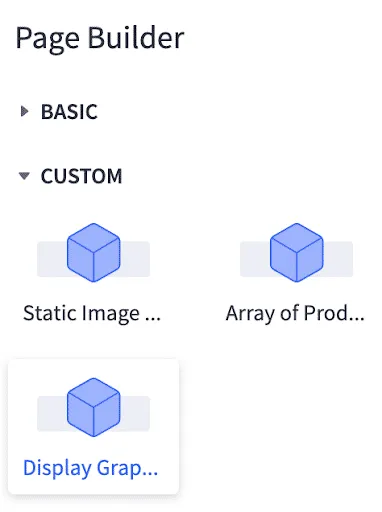
Try dragging your custom widget onto the page. Assuming the schema is structured correctly, you should be able to modify the settings in the left sidebar. When you first add the widget to the page, you should see a null result from your GraphQL query:

Begin typing a product name or SKU into the “Select a Product” field on the left sidebar. Once you select a product in the left sidebar the result should display the result of the GraphQL query like this:
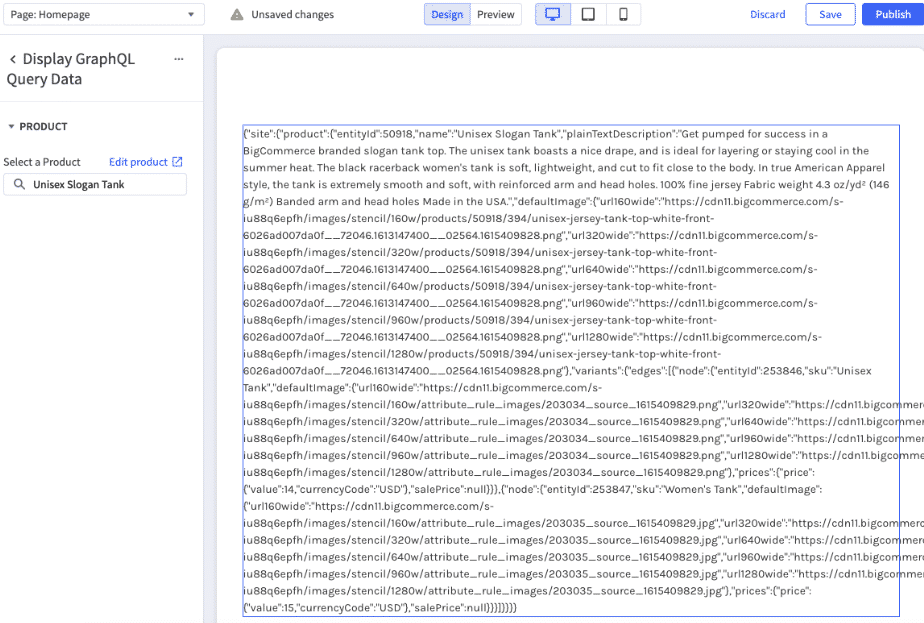
Use the Save button in Page Builder to save your widget placement so that you can observe the effects of updating the widget template in the next section.
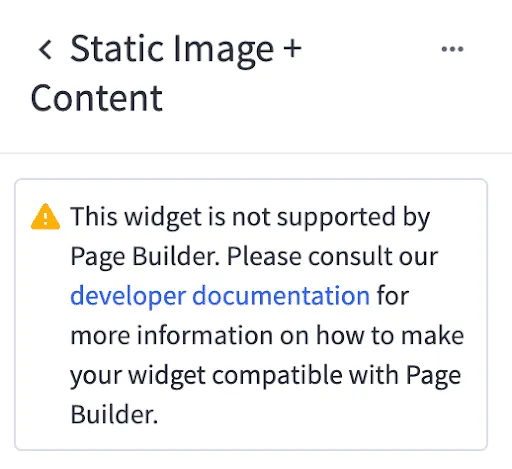
What if I can’t edit my widget schema settings?
This warning indicates that there is an issue with the widget template schema. Examine your schema and review the Big Dev Docs. Specifically, ensure your schema has exactly two root elements: one tab element and one hidden element. All configurable settings should be contained by a section inside the tab.
Improve and Update the Widget Template
Now that you have a widget template that displays dynamic information from GraphQL, it’s time to improve the template markup to display the product variant information in a human-readable list. When you update a widget template, you may choose to create a new template version which will allow you to push updates without changing existing widgets.
In this example, you will set create_new_version in the Update a Widget Template request so that the widget you created in the previous section is not changed but any new widgets created from the template will use the updated template. If you prefer to update all existing widgets that use the template, then you can omit create_new_version or set it to false.
See the Big Dev Docs for more information on versioning widget templates.
Write the Improved Template Markup
- Use a JSON escaping tool like Code Beautify to convert the quotation marks and line breaks in the following code into escaped characters resulting in a single line of code:
For brevity, this guide will not explain each line of code above but here are a few notable parts:
- The content is wrapped in an {{#unless}} Handlebars helper so that placeholder text is rendered if the content creator has not yet selected a product with the productId input.
- The first <img> tag utilizes srcset and size attributes so that the browser may choose the appropriate size for the image depending on the screen size. Because GraphQL can return image URLs at specified sizes, it’s easy to request several sizes of the same image from BC without uploading different versions of the same image.
- The <li> elements are wrapped in an {{#each}} Handlebars helper so that a list item is rendered for each variant in the GraphQL data. It’s worth noting that all products, even simple products without variant options, have at least one variant.
- The {{toFixed}} Handlebars helper is used to render prices with 2 decimal places.
Update and Use the Widget Template
Using the updated markup, you will now update the existing widget template. In this section, you will create a new version of the widget template so that existing widgets are unchanged but any new widgets use the new template.
- Write a JSON object including an updated name and template using the escaped markup as template.
- Add create_new_version with a value of true. At this point, your JSON should look like this.
- Use your REST client to send your object as a PUT request body to the Update a Widget Template API.
- After you send the request, your previous widget template should be available in Page Builder with an updated name and the widget you added to the storefront in the previous section should remain unchanged. Open Page Builder by navigating to Storefront > Customize in the BigCommerce. Look below the default list of basic widgets to find the Custom section:
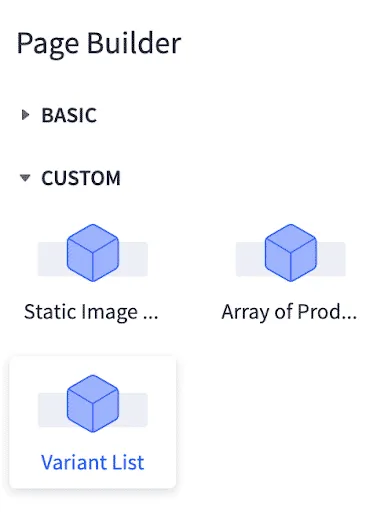
Try dragging your updated custom widget onto the page. Assuming the update was successful, you should be able to modify the settings in the left sidebar. When you first add the widget to the page, you should see the placeholder text in the template:

Begin typing a product name or SKU into the “Select a Product” field on the left sidebar. Once you select a product in the left sidebar the result should display a variants list:
Section Challenge
For an extra challenge, try sprucing up the markup and CSS, adding “view product” and “add to cart” links, or implement new settings to control the typography and styling of the widget.
- Modify the GraphQL query to retrieve the product page template and add a link to the product page.
- Add links to Add to Cart URLs for each SKU.
- Use a range setting to let the content creator configure the number of characters of the product description that should be displayed.