

Lab - Set Up a Custom Buyer Portal
Introduction
This lab will walk you through setting up a local environment running a custom Buyer Portal, as well as connecting this project to your Stencil storefront.
Instead of cloning the main Buyer Portal repository, you’ll be setting up a custom repo with boilerplate necessary for subsequent exercises.
In this lab, you will:
- Copy a Buyer Portal starting repository
- Run a local dev server
- Reconfigure storefront scripts
Prerequisites
- A BigCommerce sandbox store or trial store
- B2B Edition enabled in your store
- A Stencil storefront channel, enabled for B2B
- A command-line interface on your local machine
- Node.js 22 or later
- The yarn package manager
- Git CLI
See the Buyer Portal overview in the documentation for details.
Step 1: Copy the Project
Rather than start your custom code from scratch, you’ll be starting from a Buyer Portal codebase that already has certain boilerplate in place, in preparation for subsequent labs.
- Install
degit, if you didn’t install it in the earlier setup lab.
- Copy the starter project, replacing the path to the working directory with your own path.
- Navigate to the new project working directory.
- Initialize a Git repository for your project.
From here on, we’ll leave managing your project’s source control to you.
Remember, in these exercises, we’re working with a custom starter project with some important boilerplate.
When setting up a new Buyer Portal project of your own, you’ll want to fork the main repository or clone it directly to start your project:
Step 2: Run the Dev Server
- Install the project dependencies.
Troubleshooting
The yarn command is unrecognized.
In some environments where file permissions are highly restricted, you may need to prepend corepack to the use of yarn commands (for example, corepack yarn install)
- Copy the
.env-examplefile.
- In
.env, update the value ofVITE_B2B_URLand addVITE_LOCAL_DEBUG:
- Start the dev server.
Just as with the mini app, take note of the localhost port displayed in your terminal output. (e.g., http://localhost:3001)
Step 3: Update Storefront Settings
- Log into your BigCommerce control panel.
- Navigate to Script Manager.
- Delete the default “B2BEdition Header Script” and “B2BEdition Footer Script.”
Make sure not to delete these scripts in a store intended for production!
- Add two new Script Manager entries for header and footer scripts as described in the Stencil Guide in the Buyer Portal repo.
See the link above for the latest version of the header and footer scripts.
The header script should look something like the following:
The footer script should look something like:
If your dev server is running on a port other than 3001, make sure to update any URLs in the header/footer scripts accordingly.
- Navigate to B2B in the control panel.
- In the Buyer Portal settings, set the “Buyer Portal type” to “Custom”.
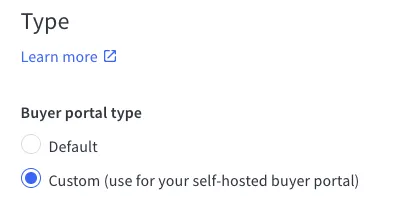
Note that you will find Buyer Portal settings directly under Settings in the B2B Edition nav in a single storefront implementation, or in the settings of a specific channel under Storefronts if your store supports multi-storefront.
See the setup guide in the BigCommerce docs for full details of the storefront update.
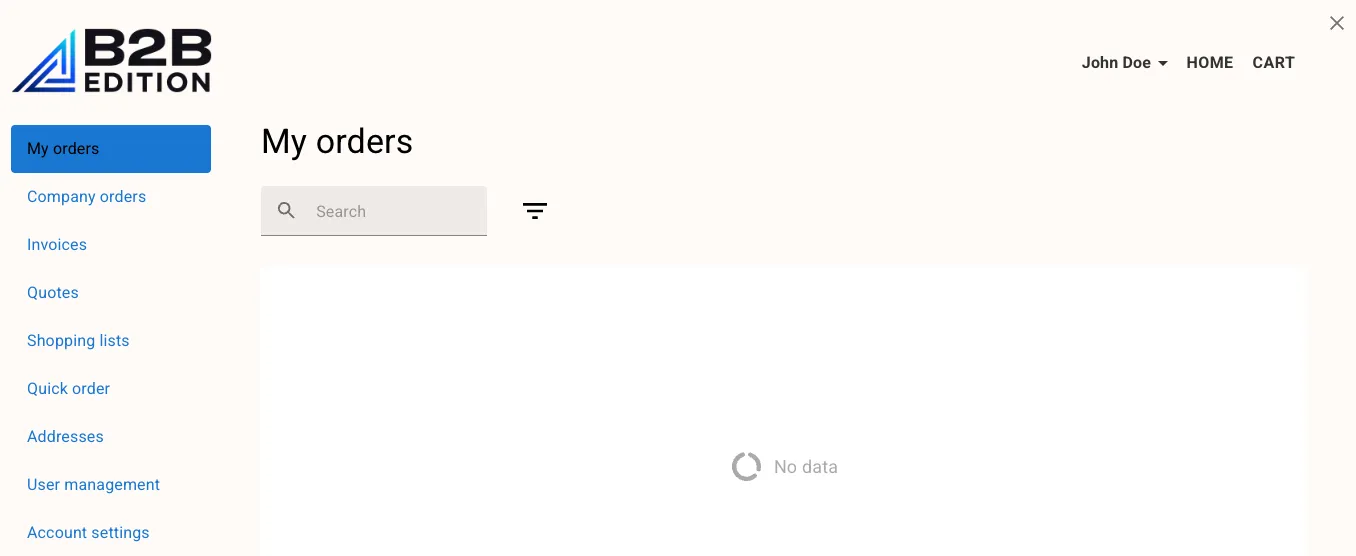
- Navigate to your Stencil storefront and use the Account link in the top nav to verify that the Buyer Portal UI still loads.
In Catalyst
As previously mentioned, the process for injecting the Buyer Portal is different in Catalyst. This method involves scripts managed directly in the Catalyst codebase, not via Script Manager.
See the Catalyst guide for full details on swapping in your custom Buyer Portal.
Step 4: Hello World
In this step and all subsequent exercises, file paths are relative to apps/storefront/src in your Buyer Portal project.
- Open the file
pages/order/Order.tsx. - In the first
Boxcomponent in the JSX returned fromOrder, add a “Hello World” block.
- Browse to the “My orders” or “Company orders” page in the Buyer Portal and verify that your message is displayed.
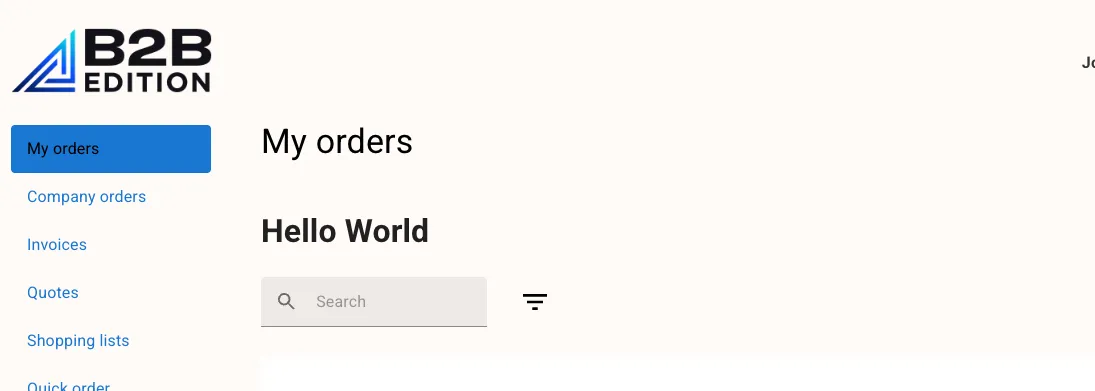
You’ve successfully connected your Stencil storefront to your local Buyer Portal project!
Feel free to remove your “Hello World” block before proceeding.