Lab - Enable Makeswift for Product FAQs
In this lab, you will:
- Add Makeswift editing capabilities to existing Product FAQs functionality on the Catalyst product detail page
- Make use of MakeswiftComponent
Prerequisites
- The starter codebase installed and connected with your Makeswift site, as done in the previous labs
Setup
This exercise continues where you left off previously in your Makeswift project. Start the dev server from the project root if it’s not currently running:
If you need a fresh start, you can follow the instructions below to set up a new project complete with previous exercise code.
- Install degit.
- In your terminal, run the following, replacing the path to the working directory with your own path:
- Navigate to the new project working directory and initialize a Git repository for your project.
- Install the project dependencies.
- Copy .env as .env.local and modify .env.local with configuration details for your store.
- Start the dev server process:
Exercise Reference Copy
If it’s helpful to compare your own code as you go, you can clone or download the completed version of this lab as a reference.
Product FAQs Component Lab Snapshot
The Product FAQs Component
Your starter codebase already includes a custom feature that displays frequently asked questions on the product detail page.
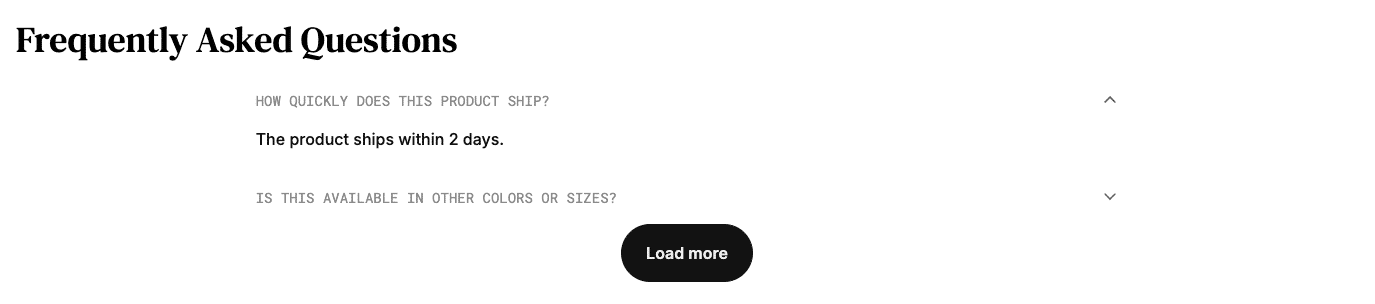
This existing component implementation fetches product metafield data to provide the FAQs that are rendered.
This feature in its starting state is the result of custom labs from the Catalyst Core course. For instructions on preparing your product data with the appropriate metafields, see that course.
In this exercise, you’ll enhance the existing capabilities by providing Makeswift properties allowing users to create FAQs directly in the editor, replacing or adding to the metafield-based FAQs.
Step 1: Embed the Component with Makeswift
Your first step is to modify the way the basic ProductFaqs client component is rendered in the page, “wrapping” it in a component that will ultimately provide Makeswift-controlled props.
- Open the file components/custom/product-faqs/makeswift/client.tsx and add an appropriate React context provider to supply the FAQs loaded from product metafields.
ContextProps is based on the props expected by the ProductFaqs component. Here you are establishing default values for two of those props (_limit_and faqs), while the rest can also be supplied with the context provider.
- Modify MakeswiftProductFaqs to fetch values from the context provider and pass them into the props of ProductFaqs.
Note the use of the <Stream> component wrapping <ProductFaqs>. This pattern is covered in more detail in the labs focused on building the initial Product FAQs UI. <Stream> allows rendering a fallback until the “streamable” value is eventually resolved. The same pattern is used within ProductFaqs itself.
Here, we’re waiting for the FAQs collection to be available before rendering ProductFaqs because we will eventually need to manipulate the list before passing it on. This won’t require changing anything in the original component, because the streamable pattern is flexible enough to handle values that are still resolving or have already resolved.
- Open the file components/custom/product-faqs/makeswift/register.tsx and add the registerComponent call.
- Open the file lib/makeswift/components.ts and add the import statement for the component.
With the actual Makeswift component now registered, our next step is to build the final wrapper component that will accept the same props as ProductFaqs, set those in the context provider, and render MakeswiftProductFaqs as a built-in element.
- Open the file components/custom/product-faqs/makeswift/index.tsx and modify the component to accept the appropriate props, load a component snapshot, and embed
MakeswiftComponent.
Notice that the ID supplied to getComponentSnapshot is unique to the product ID that was passed in the component’s props, meaning that Makeswift content and configuration for this component will be on a per-product basis.
This component is now ready to be swapped into the context where ProductFaqs was previously rendered directly.
- Open the file app/[locale]/(default)/product/[slug]/page.tsx and replace the old
ProductFaqsimport with the Makeswift version.
- Browse to a detail page for a product containing FAQ metafields and verify that the typical FAQ presentation still functions.
- Open the Makeswift editor with the appropriate dev site selected, enter the URL path of the product detail page in the location bar, and verify that the FAQs section is a selectable component.
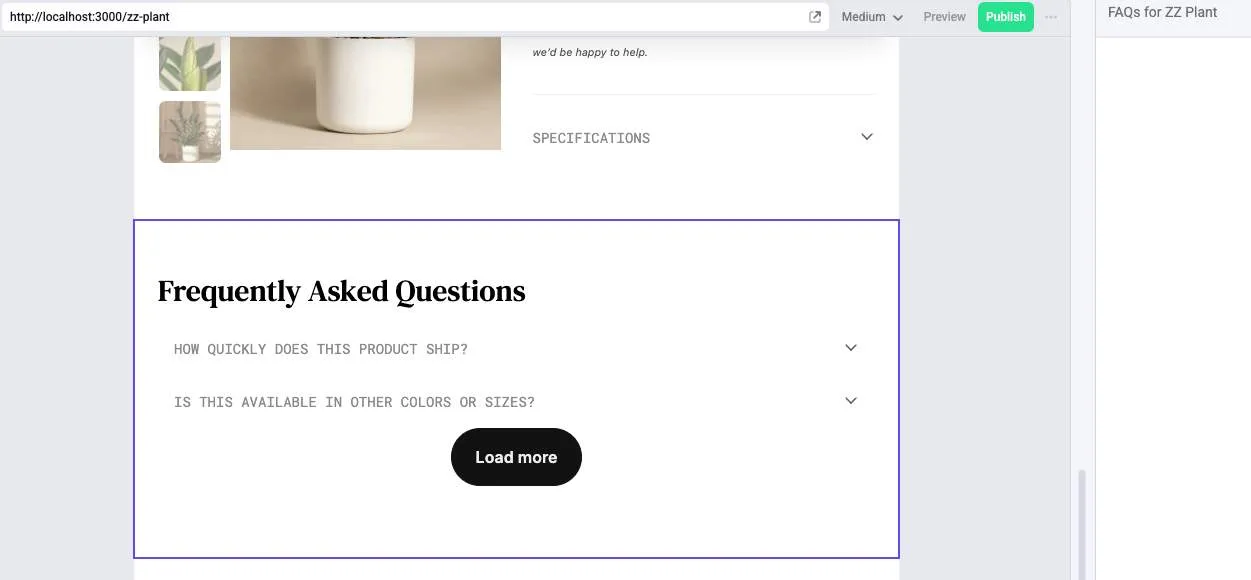
Your component doesn’t yet define any editable properties, but you’ve successfully registered it with Makeswift while preserving its original functionality.
Step 2: Add FAQs Prop Control
You’ll now add a Makeswift control for creating additional FAQs directly in the editor.
- Open the file components/custom/product-faqs/makeswift/register.tsx and add the faqs property.
For now, the List control only supports simple text inputs for both question and answer.
- Open the file components/custom/product-faqs/makeswift/client.tsx and add the appropriate props interface definition.
- Modify MakeswiftProductFaqs to combine the metafield-provided FAQs from the context provider with those supplied by the Makeswift prop.
- Open the product detail page in the Makeswift editor and verify that additional FAQs can be added.
Step 3: Add a Slot Option
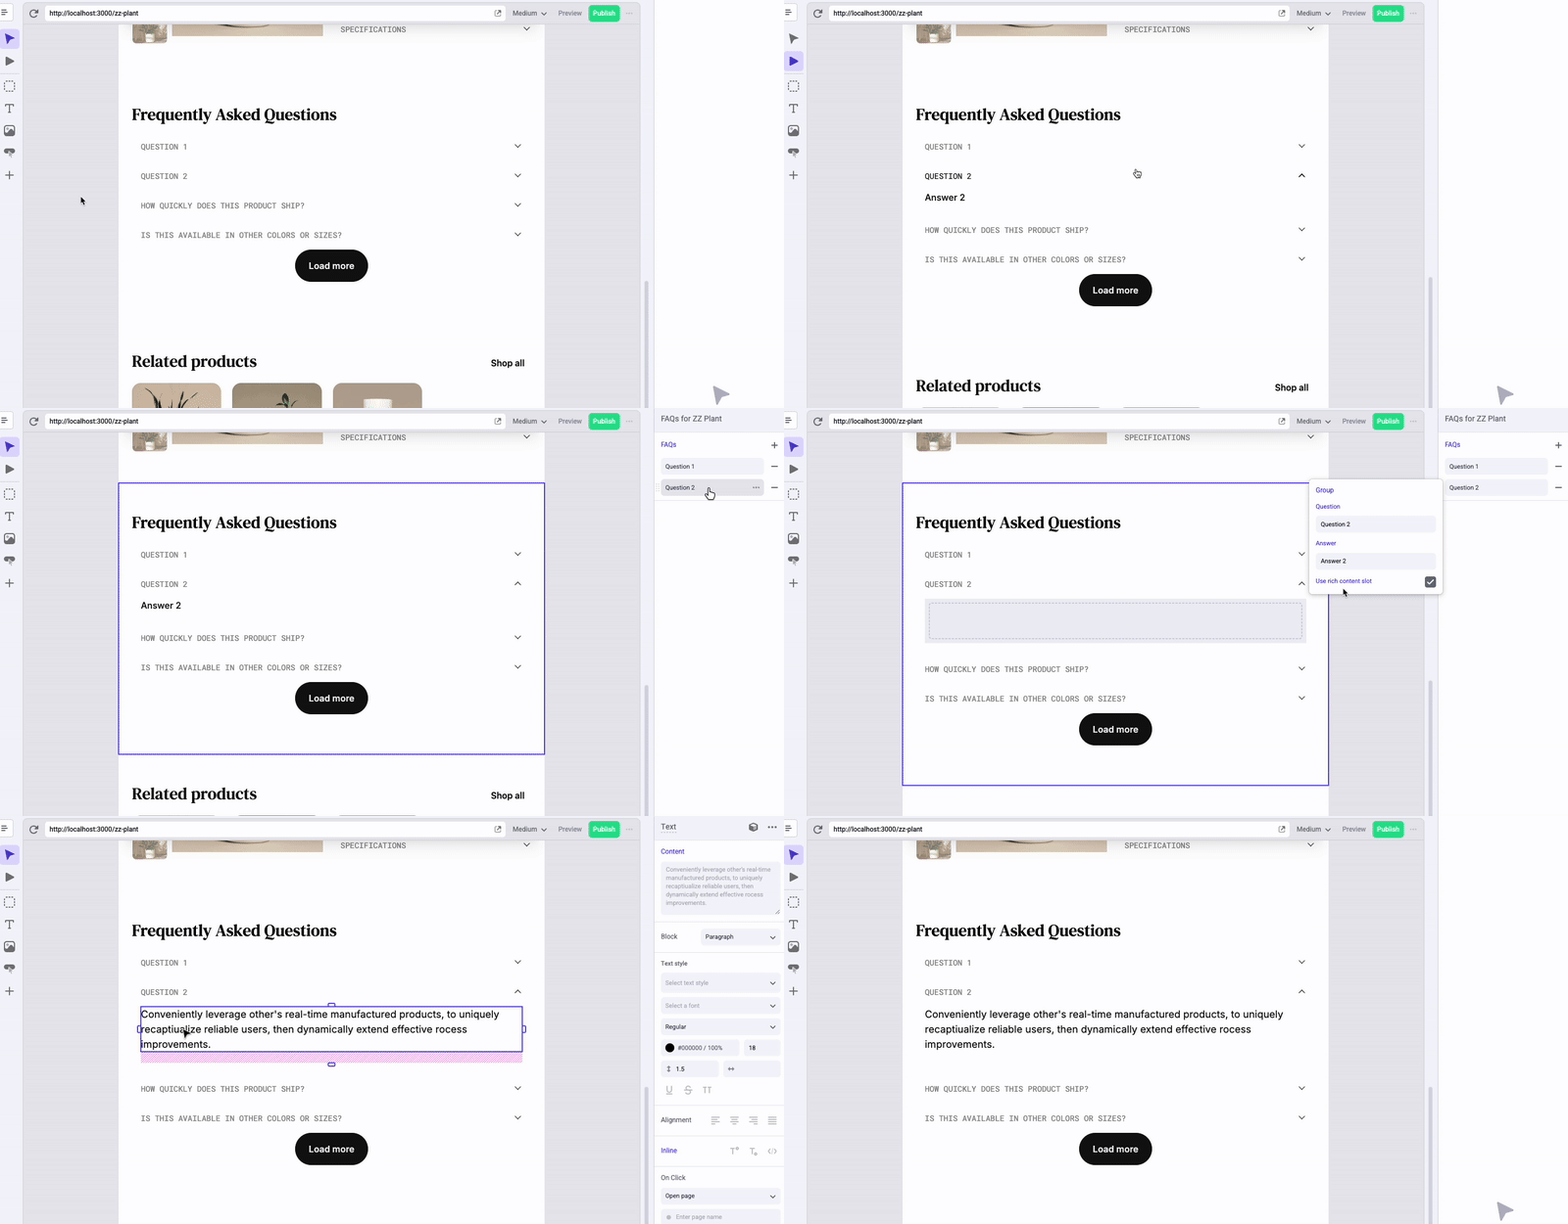
So far, each FAQ added via Makeswift can contain only simple text for the “answer” portion. You can offer even more flexibility by providing the option to build an answer entirely with the editor canvas. You’ll add a new Slot control for this, along with a property to select which style of content a FAQ will use.
- Open the file components/custom/product-faqs/makeswift/register.tsx and add two new properties to the Group definition for each FAQ.
- Open the file components/custom/product-faqs/makeswift/client.tsx and add the new props to the interface.
- Modify the map callback that compiles the formattedFaqs array to utilize the new props.
The final list of FAQs being passed in the faqsCollection prop can now include either a string or a ReactNode for each answer. We need to update the props schema in FaqsList accordingly.
- Open the file components/custom/product-faqs/faqs-list.tsx and modify the
Faqinterface.
- Open the product detail page in the Makeswift editor and verify that you can use the “Use rich content slot” toggle to enable an editable region for an FAQ.
Step 4: Make Metafield FAQs Optional
As a final enhancement, you’ll introduce a Makeswift control that will dictate whether FAQs based on metafields will be shown at all. This will allow editors to decide, on a product-by-product basis, whether manually created FAQs will replace or add to those sourced from the product data.
- Open the file components/custom/product-faqs/makeswift/register.tsx and add the showOriginal prop control.
- Open the file components/custom/product-faqs/makeswift/client.tsx and add the new prop.
- Modify the concat expression that combines all FAQs to make the list from the context provider conditional.
- Modify the returned JSX to also make the
showLoadMoreprop dependent on the same value.
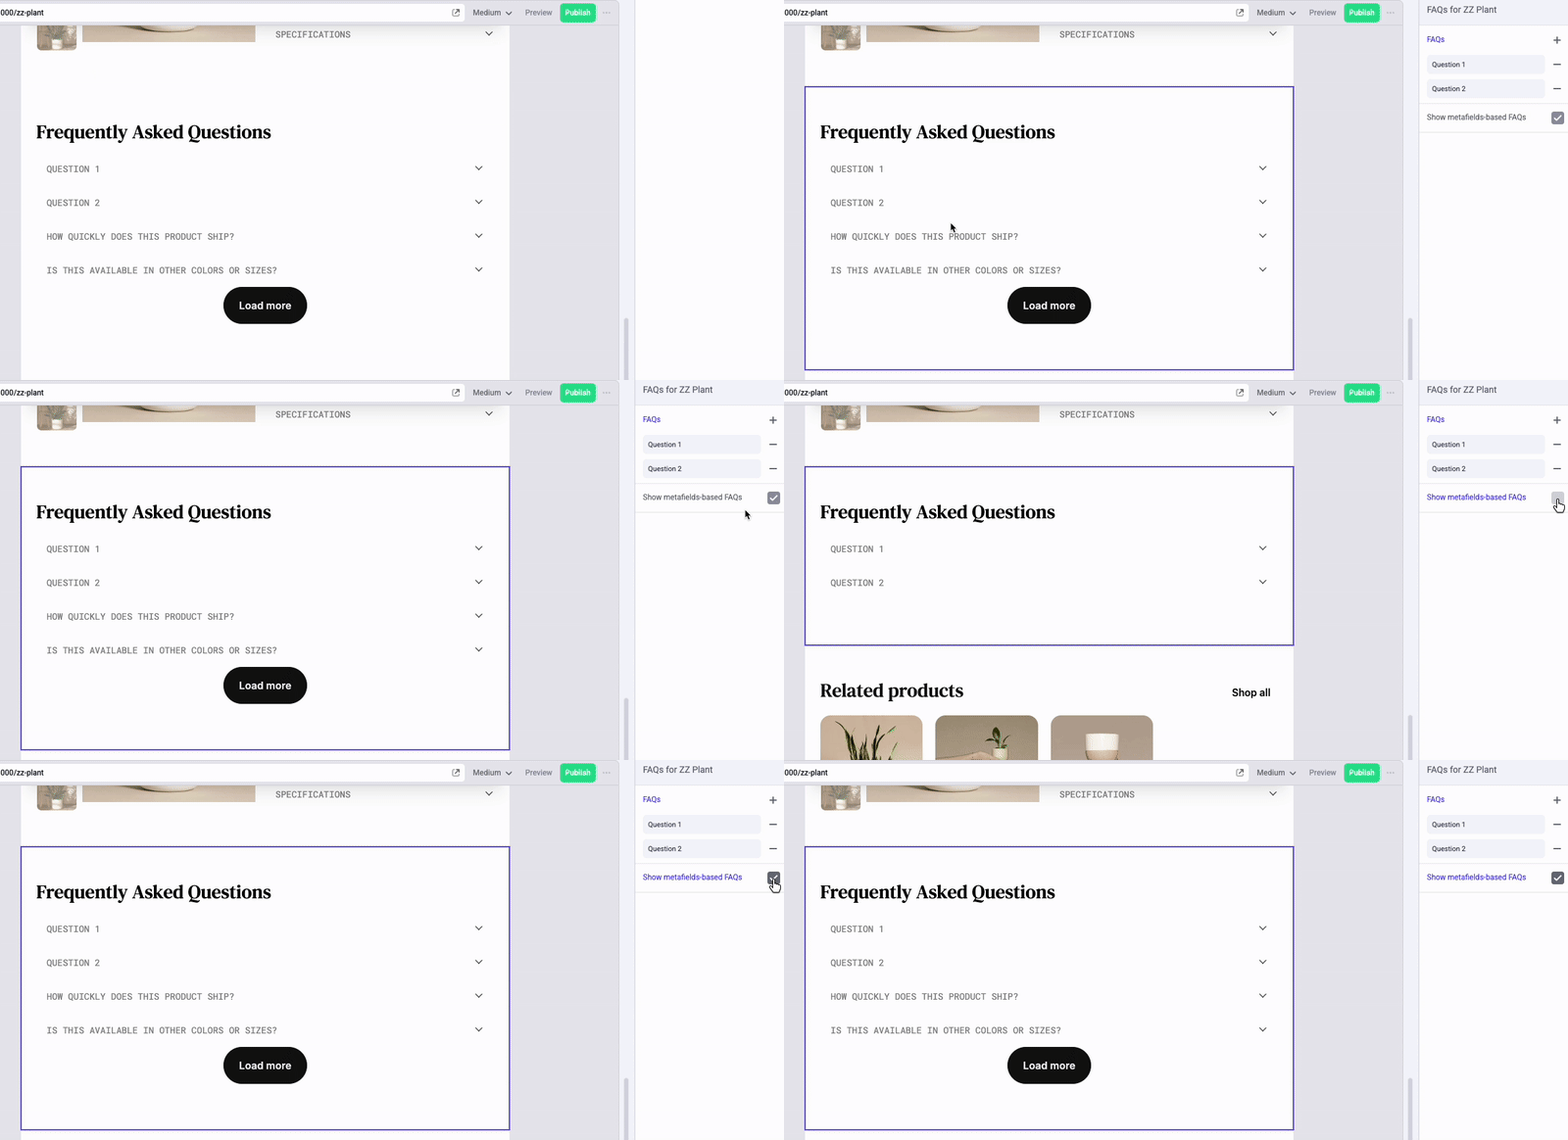
- Open the product detail page in the Makeswift editor and verify that toggling the “Show metafields-based FAQs” control will show or hide the appropriate FAQs.