

Lab - Getting Started
In order to work with Catalog API, you must have a proper setup in Postman (or another REST client). This lab will walk you through the steps needed to activate a free Postman account, create an OAuth token for your storefront, and correctly set up an environment in Postman.
Prerequisites
- BigCommerce store (sandbox or live)
- Basic knowledge of APIs
- REST client (Postman)
- Access to the user account with Store Owner permissions
In this lab, you will:
- Install Postman
- Create an OAuth token from your sandbox store’s control panel
- Create a preset for request headers
- Create an environment in Postman for your sandbox store
Getting Started with Postman

Create a Postman Account
- Navigate to postman.com
- Click Sign up for Free
- Fill out the form provided
Create an OAuth Token
-
Log in to your sandbox store
Make sure you are logging in using the user account with Store Owner permissions. For more information, see the Store API Accounts article in the support portal.
-
Navigate to Settings > Store-level API Accounts
-
Click the Create API Account button
-
Select “V2/V3 API token” as the Token Type
-
Type a name for the API account
-
Copy the store hash from the API path
The store hash is the alphanumeric string in the API path between /stores/ and /v3/. This string uniquely identifies this store when sending requests to
https://api.bigcommerce.com/Example: API Path:
https://api.bigcommerce.com/stores/abcd1234/v3/Store Hash: abcd1234The store hash can also be found in your Control Panel URL.
Example: Control Panel URL:
https://store-abcd1234.mybigcommerce.com/Store Hash: abcd1234 -
Save the store hash somewhere that you can access to complete later steps in this lab activity
-
Configure OAuth scopes by making the adjustments below: under Products, click the modify button
-
Click the Save button
-
Copy the Access Token and store it in a place you can access later
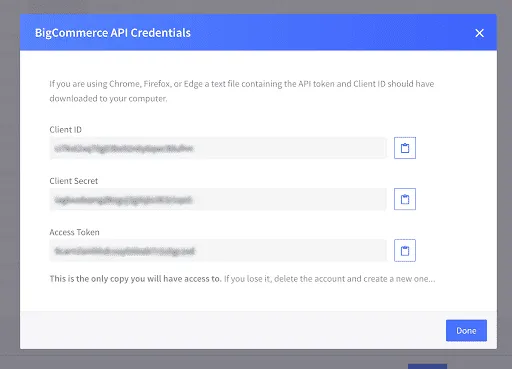
A .txt file containing the same credentials will (on most browsers) automatically download to your computer.
There is no way to re-display this pop-up after you select Done to dismiss it. So make sure you store your credentials – either by copying/pasting the contents of each field out of the pop-up, or by keeping the downloaded .txt file. Otherwise, you will need to repeat all the above steps to generate new credentials.
From a security perspective, these credentials are sensitive – please treat them with the same caution that you would treat a private key or root password.
Create an Environment in Postman
What are environments?
While working with APIs, you will often need to have different setups. For example, your local machine, the development server, or the production API. Environments give you the ability to customize requests using variables. This way you can easily switch between different setups without changing your requests. You won’t have to worry about remembering all those values once they are in Postman. Environments can be downloaded and saved as JSON files and uploaded later.
-
If it is not already open, open Postman
-
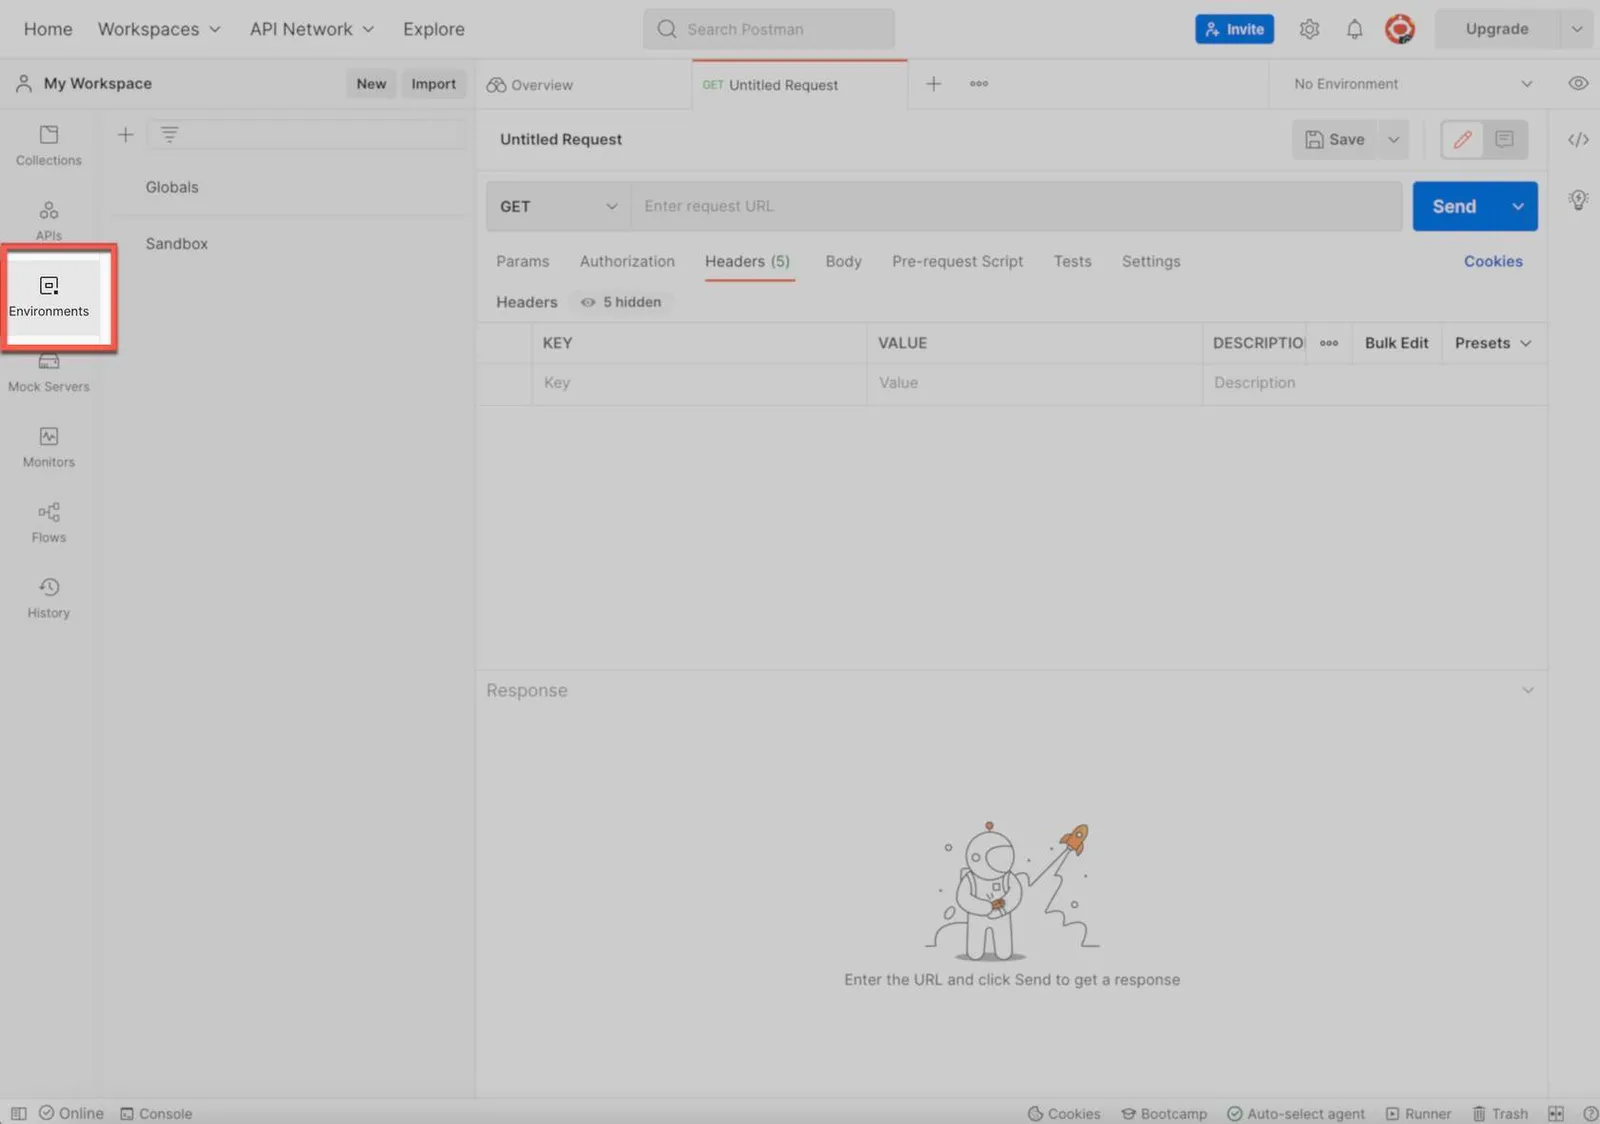
In the Workspace menu on the left side of the page, click the Environments tab
-
Click the + button to create a new environment
-
Type a name, such as “My Sandbox Store” into the Environment Name field
-
Create the following variables:
Environment Variables
-
Click Save
-
Before you make a call, you must assign the new environment. Above the Save button, click the drop down arrow next to “No Environment.” Select your new environment to assign.
Create a Preset for Request Headers
Saving your request header information in a preset will allow you to quickly populate your request headers rather than having to re-enter this information.
-
Open Postman
-
Navigate to your workspace
-
Click + to open a new tab
-
Click on the Headers tab
-
Click on Presets
-
Click Manage Presets
-
Click Add
-
Add the following presets
Postman Presets
-
Click Add to save
-
Before you make a call, you must assign the headers. In the headers tab, click Presets, and Select your new presets to assign.