

Lab - Using an Array in a Schema
Summary
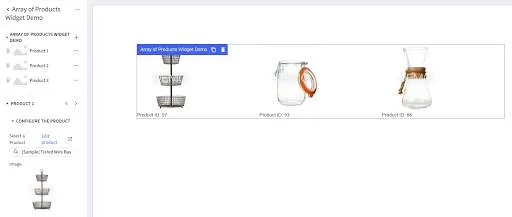
In the previous sections, you created widget template schemas with a single tab element. In this section, you will create a widget template that allows the content creator to select multiple products from the catalog, and display their product images in a grid. To allow the user to select multiple products, you will write a schema with an array containing multiple schemas, each with their own tab. In the end, you should be able to use Page Builder to create widgets that look like this:
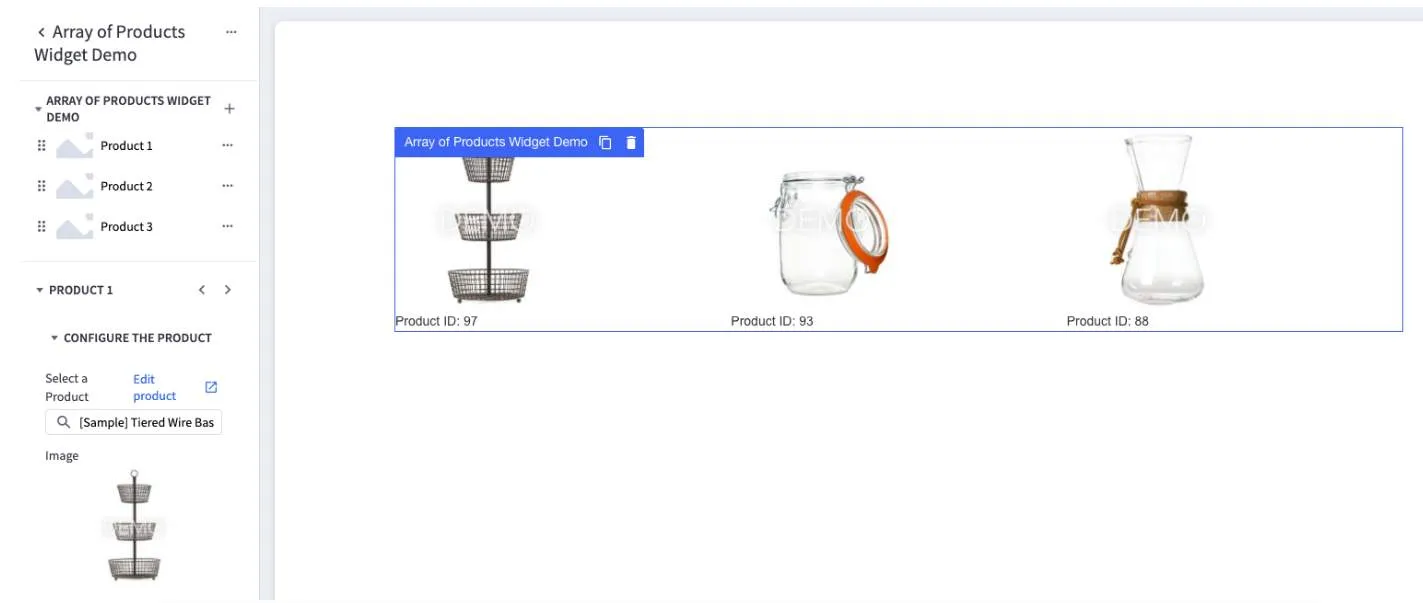
In this lab you will
- Write a widget template with an array of schemas, each including
- a product ID input to select a product from the catalog
- a product Image input to select a product image from the catalog
- Create the widget template
- Create a widget with the new widget template
Prerequisites
- BigCommerce store
- Stencil theme with at least one region
- A REST client like Postman
- BigCommerce API credentials
Create a Widget Template with an Array
In this lab, you will begin to build a product card grid. In more advanced applications, you could build on this template to create a functional “add all to cart” widget, but for now, the template is quite simple and only displays the product ID and a product image on each card. For an example of a more complex widget template utilizing arrays, look at the Carousel widget template available by default.
Write the Widget Template Schema
The widget template’s schema defines the inputs a content creator can use to configure a widget. Widget templates use Handlebars to access the configured values to determine the content, markup, and styles to display. In this section, you will write an array of schemas containing:
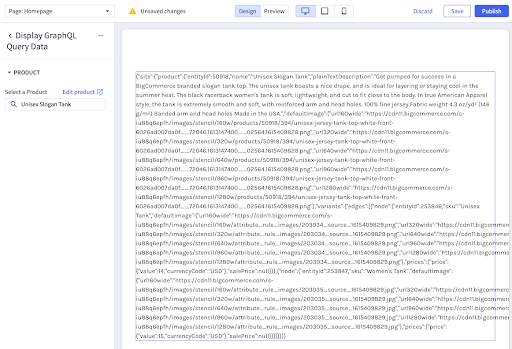
- a product ID input to select a product from the catalog
- a product Image input to select a product image from the catalog
Throughout this section, you will write HTML and JSON to create the request body for a Create a Widget Template POST request. You may reference the following code sample during the following steps to check your work:
- In your text editor, create an array containing a single array object:
- Add a tab object with a type, label, and sections to the schema array.
- Add a section object with a label string and an empty settings array to the sections array.
- In the settings array, add a Product ID setting. This setting’s value will be used to populate other information about a product in the catalog, so the default text and the label should reflect that usage:
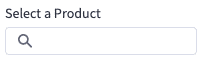
Example:
- In the settings array, add a Product Image setting. This setting is dependent on the productId defined by the previous setting, so the previous setting’s id is referenced from the typeMeta of this setting. This setting’s value will be used to populate the src attribute of an img tag in the template.
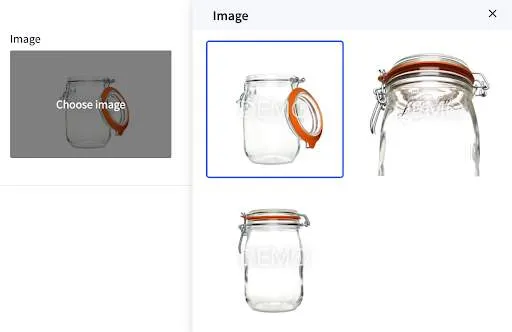
Example:
At this point, your schema should contain the same array, schema, and settings as this example.
Write the Widget Template Markup
Just as in the previous example, you will use Handlebars to access the widget’s data in the template markup. Unlike the previous example, the data is available as an array rather than a single object. To iterate through the array and access the data for each of the productId and image settings, the template will use the {{#each}} Handlebars block helper to render some content for each element in the array. For more information on the {{#each}} helper, see the official Handlebars documentation.
In this example, you will use a CSS flexbox layout to create a grid that displays three products per row. Feel free to spruce up the markup, but bear in mind that future examples may reference the template you create in this section. For a CSS flexbox quick reference, see a resource like css-tricks.com.
- In a text editor of your choice, write a div tag with inline styles to define a flex container. Example:
- Inside the div, add an {{#each}} block helper to iterate over the products array and render one div with inline styles to define a flex item for each element in the array. Example:
- Inside the flex item div, add an img tag with a src attribute that references the image setting with Handlebars.
Example:
- Inside the flex item div and under the img tag, add a new div containing text to display the selected product’s ID.
Example:
You should now have 8 lines of HTML:
- Use a JSON escaping tool like Code Beautify to convert the quotation marks and line breaks into escaped characters resulting in a single line of code.
At this point, you should have a line of code that matches the template in the example.
Create and Use the Widget Template
Having written the schema and markup, you are now ready to use the Widgets API to create a widget template. You will begin by writing the API request body, then you will use a REST client to create the template, then you will test your template in Page Builder.
- Write a JSON object including a name, schema, and template using the schema and escaped markup as the schema and template respectively, and with a descriptive name. Example
- Use your REST client to send your object as a POST request body to the Create a Widget Template API.
- After you send the request, your new widget should be available in Page Builder. Open Page Builder by navigating to Storefront > Customize in the BigCommerce. Look below the default list of basic widgets to find the Custom section:
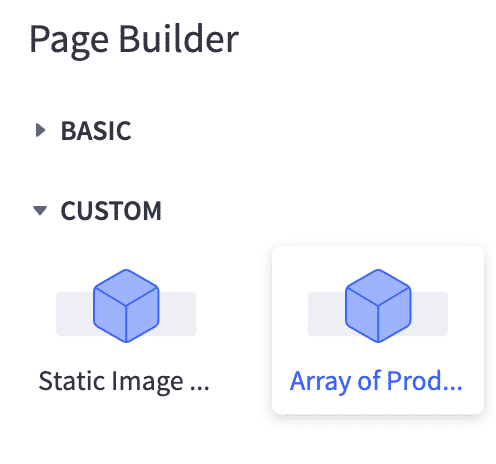
Try dragging your custom widget onto the page. Assuming the schema is structured correctly, you should be able to modify the settings in the left sidebar. The end result should look something like this:
What if I can’t edit my widget schema settings?
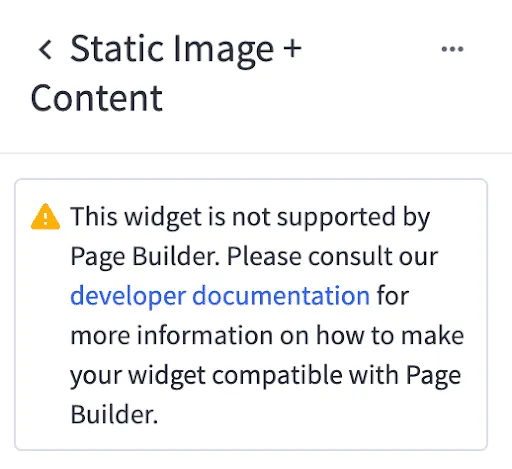
This warning indicates that there is an issue with the widget template schema. Examine your schema and review the BigCommerce Dev Docs. Specifically, ensure your schema has exactly one root element with type ‘array’, and that element has its own “schema” array with exactly one root tab element. All configurable settings should be contained in a section inside the tab.
Section Challenge
For an extra challenge, try sprucing up the markup and CSS, or implement new settings to control the typography and styling of the widget.
- Try making the number of columns in the flex container configurable.
- Consider use cases like text alignment, changing the font in the text block or adding some copy under each product list.
- Consider using other schema settings types like select or color:
- Query the Get All Widget Templates API to examine the basic widget templates for more ideas.